Have you noticed a musty smell in your home or strange, dark spots on your walls? These could be signs of mold, often caused by water leaks and high humidity levels. Mold is not only an eyesore but also a health hazard, impacting those with allergies, asthma, and other respiratory issues. Understanding the connection between water leakage, humidity, and mold growth is crucial for maintaining a safe and healthy living environment. According to certified inspectors at Mold Testers 561, water leakage can be a cause of instant mold growth in your property. That’s why you should deal with water damage instantly.
Understanding Water Leaks and Their Impact
Water leaks are a common issue that many homeowners face. They can originate from various sources like plumbing systems, roof damage, or even faulty appliances. A small leak might seem insignificant, but it can lead to major problems if left unchecked.
Water leakage creates a favorable environment for mold growth by providing the necessary moisture. Mold spores, which are always present in the air, need moisture to settle and multiply. When a leak goes undetected, the constant supply of water allows mold to thrive and spread.
Ignoring water leaks can also lead to structural damage. Water can weaken wooden beams, cause drywall to crumble, and even damage the foundation of your home. Early detection and repair are key to preventing these serious issues.
The Role of Humidity in Mold Growth
While water leaks provide a direct source of moisture, high humidity levels can also contribute to mold growth. Humidity refers to the amount of moisture in the air. When indoor humidity levels exceed 60%, it creates an ideal environment for mold spores to grow.
Bathrooms, kitchens, and basements are particularly susceptible to high humidity. Activities like cooking, showering, and even drying clothes indoors can increase moisture levels in these areas. Without proper ventilation, humidity can build up and lead to mold problems.
Using a hygrometer can help you monitor indoor humidity levels. Aim to keep humidity below 50% to reduce the risk of mold growth. Simple measures like using exhaust fans, dehumidifiers, and opening windows can make a big difference in controlling humidity.
Identifying the Signs of Mold
Recognizing the early signs of mold can help you address the issue before it becomes a major problem. Mold can appear in various forms, including black, green, or white patches on walls, ceilings, and other surfaces.
A musty odor is another common indicator of mold presence. This smell is caused by the metabolic process of mold as it grows and spreads. If you notice a persistent musty smell, especially in areas prone to moisture, it's time to investigate further.
Allergic reactions can also be a sign of mold exposure. Symptoms like sneezing, coughing, itchy eyes, and skin irritation may worsen when you're at home and improve when you leave. If multiple family members experience these symptoms, mold might be the culprit.
Health Risks Associated with Mold
Mold exposure can pose serious health risks, especially for individuals with allergies, asthma, or weakened immune systems. Prolonged exposure to mold spores can lead to respiratory issues, chronic sinus infections, and even neurological problems in severe cases.
Children, the elderly and pregnant women are particularly vulnerable to mold-related health issues. Mold can exacerbate asthma symptoms, leading to more frequent and severe attacks. It can also trigger allergic reactions, causing discomfort and affecting overall well-being.
Addressing mold growth promptly is essential to protect your family's health. Regular inspections and immediate action when mold is detected can help minimize these health risks.
Preventing Water Leaks
Prevention is the best approach when it comes to water leaks. Regular maintenance and inspections can help you catch potential issues before they turn into costly repairs.
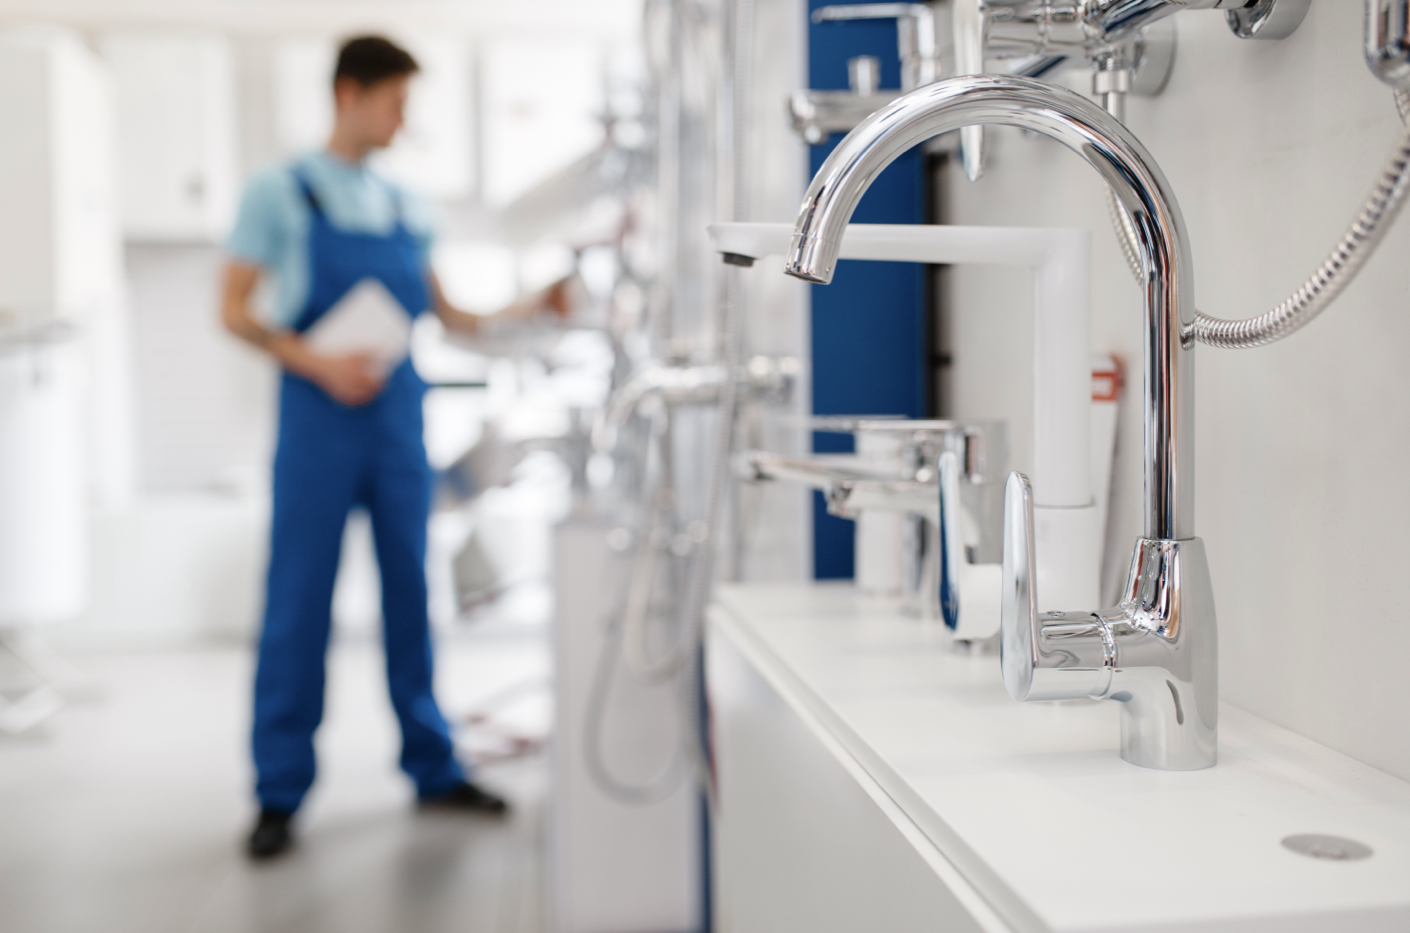
Start by checking your plumbing system for any signs of leaks. Look under sinks, around toilets, and near water heaters for drips or puddles. Fixing even small leaks can prevent bigger problems down the road.
Inspect your roof and gutters for damage, especially after heavy storms. Ensure that gutters are clear of debris and direct water away from your home's foundation. Proper roof maintenance can prevent leaks that lead to mold growth.
Managing Humidity Levels
Controlling indoor humidity is essential for preventing mold growth. Simple changes in your daily routine can help maintain optimal humidity levels in your home.
Use exhaust fans in bathrooms and kitchens to vent moisture outside. When cooking, cover pots and pans to reduce steam. After showering, leave the bathroom door open to allow moisture to escape.
Consider investing in a dehumidifier, especially in areas prone to high humidity like basements. A dehumidifier can help remove excess moisture from the air, making it harder for mold to grow.
Effective Mold Removal Techniques
If you discover mold in your home, it's important to address it promptly and effectively. Small mold spots can often be cleaned with household products, but larger infestations may require professional intervention.
For minor mold issues, use a mixture of water and detergent to scrub the affected area. Wear gloves and a mask to protect you from mold spores. Ensure the area is thoroughly dried after cleaning to prevent regrowth.
For extensive mold problems, it's best to hire a professional mold remediation service. Professionals have the expertise and equipment to safely remove mold and prevent future growth. They can also identify and address the underlying causes of mold, such as hidden water leaks or poor ventilation.
The Importance of Professional Inspections
Regular professional inspections can help identify potential mold risks and address them before they become serious issues. Building inspectors and mold specialists can detect hidden leaks, assess humidity levels, and recommend preventive measures.
Schedule annual inspections to ensure your home remains mold-free. Professional assessments provide peace of mind and help maintain a healthy living environment. Early detection and intervention are key to preventing mold-related problems.
Creating a Mold-Resistant Home Environment
Making your home mold-resistant involves a combination of preventive measures and regular maintenance. Start by addressing any existing mold issues and repairing water leaks promptly.
Improve ventilation throughout your home by using exhaust fans, opening windows, and ensuring proper airflow. Install moisture barriers in areas prone to dampness, such as basements and crawl spaces.
Consider using mold-resistant building materials, such as mold-resistant drywall and paint. These materials are designed to inhibit mold growth and provide an extra layer of protection for your home.