Front Door Installation: 4 Useful Tips from Professionals
RH Business Marketing Solutions
Many homeowners spend lots of time picking out the perfect pieces to install in their home. Regardless of whether or not it is the home of your dreams or simply an investment property, a beautiful front door is an effective way to beautify your home. However, splurging on an attractive door is worthless if it is not properly installed. Installing or hanging a new door is a process that can take time, and it involves several variables. It can be challenging, but it isn’t rocket science. According to the door experts at ETO Doors , there are some tried and true professional hacks that can increase your odds of a successful and stress-free installation. Get your tools together, take your time, and consider these 4 tips before you tackle the installation of your new front door.
Measure twice, cut once
We have all heard the classic saying, “measure twice, cut once”, but before you purchase a new door, you should definitely be sure to make some measurements of your own. Measure the door that you will be replacing. This is without a doubt a necessary starting point. Make sure that you’re using the tape measure correctly, with the end of it butted flush against a surface perpendicular to that which you’re measuring.
If you buy a pre-hung door, as we recommend, you should make sure to measure the existing door frame, as well, as you will need to remove it to accommodate the new frame. Just measure the jamb width (from the front of the door jamb’s exterior to its interior side), as well as the jamb’s overall dimensions as it sits in the opening.
Measuring the door, itself, is very easy. This can be done while it is still hung. However, you should also be sure to measure the door opening, as well. It is important to make sure all sides are even and that everything is square. Measuring this opening requires the removal of the door frame trim. To remove the trim without damaging the paint or drywall around it, you can shim a metal putty knife between the trim and wall before using a pry bar to remove it. The putty knife buffers the pry bar.
Once your door opening is completely exposed, you can measure it and determine how much space you have for your new door, as well as whether or not your opening needs to be addressed before moving forward. Your top and bottom measurements should be within ½” of one another for a functional door opening. The same applies to the sides of your opening. He also recommends making sure everything is level during this stage, especially the floor.
Get your things in order
Your initial step in the installation process should be to assemble all necessary tools and material before removing the original door and beginning the installation of the new door. This can prevent the chances of additional difficulty as you work to get the new door installed. Having all the necessary tools and materials nearby and ready to use will help you get things done efficiently and with minimal headaches.
Some of the tools you will probably need are:
Power drill
Hammer
Pry bar
Utility knife
Medium sized level (around 4 feet)
Carpenter pencil
Tape measure
Powered circular saw
Countersink drill bit
Safety equipment (safety glasses, leather gloves, hearing protection)
Besides the door, some of the materials generally needed:
Hardware (hinges, deadbolt/lock, doorknob)
Wood shims
Pressure treated lumber
Nails (galvanized)
Latex caulk
New wooden trim
Cement screws
3-inch wood screws
Temporary wood blocks (5-inch blocks of 2x4 wood to use to help you hold the door up while you’re installing it)
Buy Pre-Hung
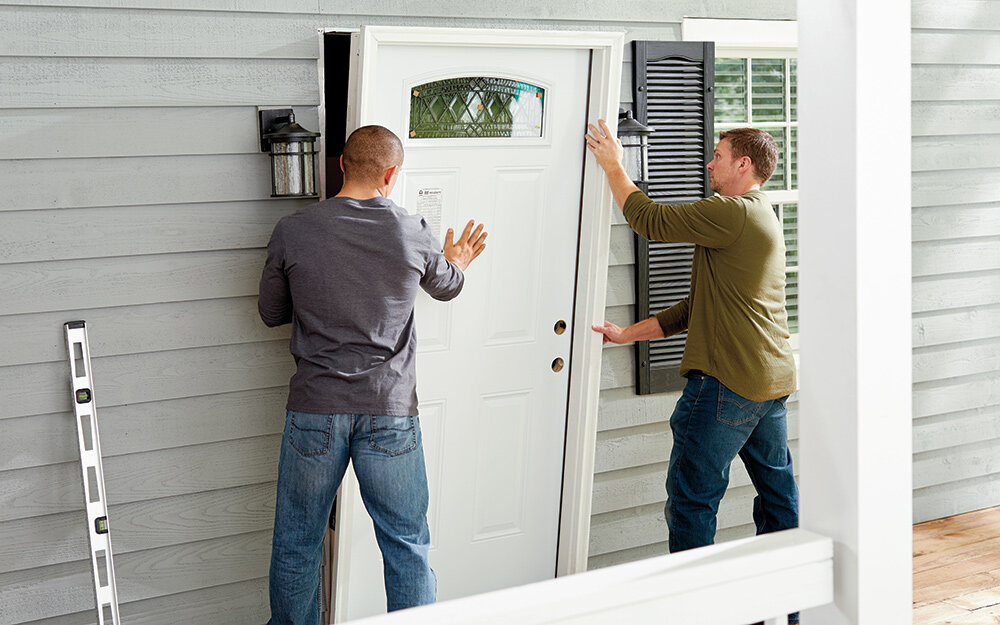
One way to make things easier on yourself is to buy a pre-hung front door. This removes the hassle of having to install hinges perfectly in the frame. If you buy pre-hung, the door will come installed in its own frame, so all you’ll have to do is make sure that the frame fits in your doorway, remove the old door, and install the new door + frame as level as possible.
Installing a pre-hung door requires removing the original door frame. After removing the existing trim, you may need to use a reciprocating saw to cut through the nails that fasten the frame into the wall. Otherwise, you can use a pry bar to get it out.
Inspect your floor
As we’ve stated, many door experts recommend making sure that the door sill is level before installing the new door. This can prevent complications in the future, and ultimately make installation easier. However, you should also take the time to inspect the floor and subfloor for any signs of damage. Things like water and termites can get into your door opening and settle in the flooring around it. The installation phase of a new door is the perfect time to check everything over and make sure the area is not in need of some additional attention.
Conclusion
Installing a new front door can be a daunting task; many people tend to leave it to professionals. However, there are many great resources out there that you can use to make things easier (including this article)! As with anything, do your homework, prepare as much as you can in advance, and take your time. Be persistent if you encounter any problems–don’t let yourself get discouraged. It can be surprisingly gratifying to successfully install a new door all by yourself, and open/close it for the first time.
Guest Contributor: Novo Benaojan
