Google+

contact us

Use the form on the right to contact us.

Day or Night, we are here to serve you. Leave your plumbing problem to us.


Tinley Park, IL

(708)845-7922

Residential and Commercial plumbers and plumbing contractors available in Orland Park, Tinley Park, Oak Lawn, Palos Heights, Midlothian, Oak Forest, Homer Glen, Mokena, Frankfort, and the surrounding Chicago South Suburbs. Emergency plumbers.

copper water lines.jpg

Kevin Szabo Jr Plumbing Blog

Kevin Szabo Jr Plumbing is Tinley Park, Orland Park, Oak Forest, Midlothian, Orland Hill, Homer Glen, Mokena, Frankfort, Crestwood, Palos Heights, Oak Lawn, local plumber. Read our blog for advice, tips, a good laugh, and basic home improvement.

**We are moving our old blog to our new and improved website. Too see all our posts visit kevinszabojrplumbing.blogspot.com

Filtering by Tag: guest article

How To Build A Simple Wood Bar 

RH Business Marketing Solutions

Plumbers in Creswood IL

How To Build A Simple Wood Bar 

Adding a wooden bar to your kitchen or dining room is a great way to up your entertainment game. It often becomes a place to hang out with friends and gives you a reason to offer better drinks and refreshments when having guests.

Even though it seems like an expensive and complicated item to add, it can be a DIY project as well. All you need to do is to have the proper materials and to figure out what kind of bar would fit your home. The rest could be done along the way if you have the tools and are reasonably handy.

The drawing board

The first step in making your own bar is to measure out the room you plan to install it in and to create a rough draft that will be your guide for the rest of the work. The drawing should have the measurements from which you can divert but only by making the bar smaller, not larger than you’ve initially planned.

There are standards to follow when it comes to the size of the bar. An average bar is 42” high and 24” deep. Obviously, this is a guideline not the law.

Crestwood Plumbers

Materials

The main thing to consider when choosing the materials you’ll use is what kind of drinks you plan to serve. If you plan to have a beer tap, you’ll need to install a drip tray out of stainless steel. If not, all you need is wood which you can get from the local shop. Most households don’t have a tap and don’t brew their own drink, and can use the bar only for storage and mixing cocktails.

The materials you use also have an effect on how the drinks are stored. For instance, if you order gin online, make sure to find out how lighting and temperature affect its storage.

Tools

Building a bar isn’t a small task and you’ll need a set of professional tools to make it. For the most part, a project of that difficulty usually isn’t something that anyone can try. That means that you probably already have the tools and some experience if you’re getting into it.  If you don’t have some of these more sophisticated tools, they can be rented if you’re only using them for this project. You may also consider CNC router that can be used to carve or cut out patterns in hard material.

You’ll need a chop saw, impact screw gun, random orbital sander, and an ordinary screw gun. A finishing nail gun and caulk gun are also needed.

Best Plumbers in Crestwood

Framework

A bar needs to be sturdy and to remain in place even when the drinks are on top of it and when people are leaning on it. That’s why you need to make a good framework that will remain intact even the bar needs some repairs. The top and bottom frame should be cut at the same time and at the same length because they need to be parallel.

Screw in the studs from top and bottom and erect the framework so you’re sure that it stands and lines up.

Bartop

This should be the last step and the moment when your bar comes together. The rough cuts of the bartop need to be made with a table saw and that’s a dangerous and a two-person task. You’ll probably need some trimming work done afterwards as well.

This will create the whole framework of the bar and you can add the front facing piece which can be decorated as lavishly as it fits your home.

A bar isn’t that difficult to make but it requires you to have some woodworking skills and to be careful with your tools. If done right, a wooden bar will make your home better looking and more fun.

 Guest Contributor, Diana Smith

Common Sewer Issues: Troubleshooting

RH Business Marketing Solutions

crestwood plumbers

Common Sewer Issues: Troubleshooting

Having a smooth running plumbing and sewage system in our homes is one of the basic necessities of every modern home, but every now and then issues arise that require professional help. It happens everywhere, with no exception of Australia, and in a variety of forms that can cause major headaches to homeowners.

Sewer issues are potentially very dangerous as they may cause serious problems if left unattended. If the water that should normally go down the drain keeps coming back and eventually starts leaking from a pipe, it can lead to contamination due to the harmful bacteria it contains.

If you have noticed anything similar to this happening in your home, you’re probably having one of the following common sewer issues.

Collapsed lines

Sewer problems are very commonly caused by old pipes that have cracked or collapsed due to wearing and old age. This kind of problem might call for major repairs involving a lot of digging in your yard, which is every homeowner’s worse nightmare.

Before you sign up a suitable sewage repair contractor, make sure they give you a proper description of their procedures and ask if they provide dig-free technology. If there is an alternative to having a dug up yard, take it and save yourself major cost and headaches.

Blocked drainage

Blockage in the drains is also a frequent problem that can cause the drain water to come back. If the problem only occurs in your toilet, sink or tub, it’s quite probable that you only have an issue with an individual drain. Most cases of clogged drains are caused by inappropriate drain use, such as pouring grease down the drains or flushing anything that’s not human waste and toilet paper. This might be a DIY project, provided it’s not a big issue.

However, if the problem persists and the blockage won’t budge, it’s time you rely on seasoned experts, such as this plumber servicing in Sydney, to approach it with their professional equipment such as a hydrojet and special chemical agents, which are very successful in removing stubborn clogs.

plumbers in crestwood

Tree roots

Tree roots that invade your pipe lines can be a serious problem, even if you don’t have any trees directly above your sewer lines. They commonly go very deep and spread very widely, and by growing around the pipes, they can easily crush them and cause mayhem. They can also grow into the pipes through small cracks and cause clogging and back-ups.

The best way to troubleshoot this problem is to resort to video inspection that confirms the issue. This allows the professional plumbers to reach an informed decision on what would be the best course of action regarding repair.

Septic tank failure

If you live in a home that still has a septic tank, it could also be a common source of sewer issues. The best way to avoid problems is to have it regularly maintained. However, problems can still occur, due to several reasons.

Most often, septic tank failures such as overflow happen due to an inefficient water usage. If it receives more water than its capacity, it will overflow and push the solid waste that didn’t have time to decompose, into distribution tubes and create a blockage.

This can be avoided by doing laundry several times during the week, instead of all in one day. The point is in reducing your water usage, which can also be done by installing water-saving showerheads, faucets and a dual flush toilet.

Another major concern for septic tank homeowners is the soakaway, which is a pit filled with rocks that holds the waste before it gets disintegrated in the ground. The symptoms of a problem in this area could be sounds from the drains, water overflow at the washing machine plug-in and the toilet and unpleasant odour from the land around your house and the drains inside it.

Whatever the issue turns out to be, the matter must be urgently dealt with before it gets any worse and causes a huge damage and health hazard.

Guest Contributor, Lillian Connors

Tips to Avoid Common Heating Problems This Winter

RH Business Marketing Solutions

IMG_0734.jpeg

Tips to Avoid Common Heating Problems This Winter 

They say winter is the most magical time of the year, but is that still so if your heater breaks down? There’s nothing more troublesome than going through the cold months with a faulty heating system. Sure, it’s nice to watch the snow falling and feel the cold breeze once in a while, but it’s a different story when you’re looking forward to a cozy night at home only to find your heater fail you.

Keeping your home warm over the winter months is not only essential to your comfort but your health as well. The drop in temperature can affect your immune system and make your body more vulnerable to sickness and infections. That said, it is imperative that you take the time to make sure that your heater works well before the colder days hit.

How To Keep Your Heater Working Smoothly 

Schedule regular heater maintenance

Nobody will ever do it better than the pros. Make it a point to schedule a heater tune-up before winter starts and another when it’s over. Having your heater cleaned and checked by professionals will extend its life and give you peace of mind throughout the season.

Make sure the pilot light is on

Checking if the pilot light on your furnace is lit should be one of the first things on your list when preparing for the cold days ahead. This is a fairly simple task, and the steps on how to do it should be on your user's manual.

Clean your heater and perform a visual inspection

Wipe the dust off your heater and clean or replace dirty filters. Also, give your heater a visual once-over to ensure that all parts are intact. Check the wires closely for any signs of damage or fraying. If you see something wrong with the wirings, get in touch with an electrician as soon as possible.

Watch out for weird noises

As you clean your heater, turn it on and listen for any odd noises. Any weird or gurgling sounds could mean that there's a leak, a crack, or some other problem within. Holes in the heater can be dangerous and should be addressed by an HVAC professional immediately.

Give your heater a trial run

Lastly, do a trial run. Turn your heater on for about 10 to 20 minutes to make sure that the system is generating the expected level of heat. This will assure you that your heater is in prime condition and will work like new when you need it to.

Guest Contributor, Michelle West

How to Navigate a Flooded Apartment

RH Business Marketing Solutions

IMG_0733.jpeg

How to Navigate a Flooded Apartment

No one wants to deal with a flooded apartment. Unfortunately, it’s sometimes unavoidable. Knowing what to do if such an incident happens is important.

You’ll hopefully never have to use these tips. That said, if your apartment ever does flood, keep the following points in mind.

Protect Yourself First

This point actually has more to do with preparing for a flood. The whole experience will be a lot less stressful if you’re prepared with renters insurance.

If your apartment floods, renters insurance might cover it. Most plans are very affordable, costing about the same as a few cups of coffee per month.

It’s also important to look for early warning signs. Identify them, and you may be able to prevent a flood.

Regularly check plumbing appliances for signs of leaks. After rain, check for leaking surfaces. Alert the landlord as soon as you spot a problem.

Protect Belongings During the Flood

Obviously, during a major weather-related flood, you need to get to a safe place.

Not all apartment floods are major, though. Some result from internal plumbing issues. During minor flooding, get valuable items away from the water as soon as possible. You might even prepare ahead of time by finding a place nearby where you could store your belongings in case of a flood. Perhaps a friendly neighbor would let you keep your valuables in their apartment should the need ever arise.

Once you’ve secured your belongings, alert the landlord. You might be able to stop the leak yourself as you wait for them to send a professional. However, if the flooding is substantial, don’t go into the apartment until the utility company has disconnected the electricity.

Addressing Post-Flood Damage

The process of handling the aftermath of an apartment flood will vary on a case-by-case basis. Different regions simply have different laws and regulations.

In general, though, your landlord’s insurance will only cover the building itself and any features of the apartment they provided. It will not cover your personal belongings if they are damaged in a flood.

True, there are circumstances in which the landlord may be found liable. Perhaps the flood resulted from an issue you had previously informed them about. If they failed to address it in a timely manner despite numerous reminders, they might be responsible for covering damage to your belongings.

That said, this usually isn’t the case. This is another reason to have renters insurance. You’ll avoid dire financial circumstances if you have a policy. Renters insurance could also help with relocation costs if flooding makes the apartment uninhabitable.

Depending on the degree of damage and the cause of the flood, you might be able to terminate your lease without any repercussions. Some landlords are also willing to let tenants relocate to similar units within their properties.

Investigate your options immediately after a flood. Again, the specific laws that apply vary from one region to another. Protect yourself ahead of time with renters insurance, and you could avoid a lot of headaches if the applicable laws don’t favor tenants in these situations.

Guest Contributor, Armand Levitz

How to Install a Ventilation Fan in Your Bathroom

RH Business Marketing Solutions

IMG_0732.jpeg

How to Install a Ventilation Fan in Your Bathroom

Your bathroom is the one room in your home that is constantly under assault from a variety of sources. Harsh chemical cleaners, steamy showers and the remnants of last night’s Mexican entrees all need a way out and vent fans can do just that.

While the odor of a recently used restroom is definitely something we want to get rid of, the more important factor in installing a ventilation fan is evacuating the steam and water vapor created from baths and showers. 

This moisture, if left unaddressed can cause floors to bow, caulking to degrade, and mold to grow in our bathrooms, leaving us with costly repairs and unsightly walls, floors and ceilings. 

When you’re ready to start keeping your bathroom dry, here’s how to do it. 

Selecting a Ventilation Fan

Finding the right fan for your bathroom is an easy process, but an important one. When considering which fan fits your needs, consider the following. 

● Square footage. Fans are designated by the CFM (cubic feet per minute) of air that they move. You’ll want a fan that has at least one CFM for every square foot of your bathroom. Find square footage by multiplying the length of a room by its width. 

● Features. It may sound silly, but this is the 21st century, even our ventilation fans come with features and options now. Modern fans can commonly be equipped with a built in light, a heater, humidity sensor, motion detector, night light and even Bluetooth speakers. 

● Install options. Vent fans can be installed with or without attic access, on the ceiling or walls, and with or without cutting into the wall material. Figure out which option suits you best and pick a fan to match. 

The Tools

Installing a vent fan is a diy task that most homeowners can take on. However, you will need a few tools. 

● A drill with bits and drivers

● Screws

● Flathead and phillips screwdrivers

● Utility knife

● Jigsaw or drywall saw

● Respirator and eye protection

● Duct tape

● Wire cutters and crimpers

● Assorted electrical connectors (may be included with fan)

Time to Get Started

Once you’ve selected the right fan and have assembled the tools, you’re ready to get going. First, determine where your fan will be installed and gain access to that area. If you’ll be venting the fan through the ceiling, you’ll need to be able to get into the attic. 

Drill a Reference Hole

Find a suitable position on the ceiling, ideally between the shower and the toilet, and drill a reference hole through to the attic. A 3/8” bit is big enough for this. 

Measure the vent fan housing and note it on a piece of paper, you’ll need this next. 

Now, climb into the attic and locate your reference hole. Clear away any debris, insulation, or stored objects from the area. Using the measurement you just took, locate the final position of the fan between two joists nearest your hole. 

Note that position in relation to your reference hole so you can transfer that to the ceiling back in the bathroom. 

Mark the Layout in the Bathroom

Back in the bathroom, measure the inside dimension of the fan’s intake. 

Using your reference hole and the notes you made in the attic, transfer the measurements from the attic to the ceiling and use a square to mark out the intake port on the ceiling. 

Cut the Hole

Using the saw you have on hand, cut along the lines you just drew for you intake port. Be sure to wear your airway and eye protection and support the cut-out piece so that it doesn’t rip drywall paper from the ceiling as you finish the cut. 

Drop in Your Fan

Now, head back into the attic with your vent fan. Attach a 90-degree elbow to the outlet port of the fan and secure it with duct tape (preferably foil duct tape).

Remove the knock out panel and attach applicable wiring (you may need an electrician for this portion).

Attach the metal brackets to the fan at the designated points. 

Drop the fan into position, through your ceiling hole 

Secure the Fan

Using the drill and 1 ½” drywall screws, secure the brackets to the joists. 

Slide the flexible ducting over the elbow you installed and secure in place with foil tape. 

Cut Your Vent Hole

All exhaust fans need to be vented to the outdoors. Never allow a fan to blow into the attic or other space, this will cause mold and water damage as the steam condenses into water. 

Locate a spot on the inside of the roof close to your vent fan. Using a hole saw sized to the cap kit, cut a hole through the roof to the outside. 

Connect Your Flexible Hose

Once you’ve cut your hole, make your way onto the roof and locate the opening. Using the cap or vent kit, place the cap in position and secure it according to the instructions provided.

The SheltonRoofing.com information guide says that while you’re up there, check out the condition of your roof. Aging and disheveled roofs cause homeowners a multitude of problems and can be extremely costly if they fail.

Back in the attic, connect the other end of your flexible hose to the cap or vent kit and secure it with foil tape. You may also need to fill any gaps around your ceiling hole with spray foam or caulking. 

Give it Power

Ensure that power to the wiring you’ll be using is disconnected. 

In the bathroom, expose the blower motor and its wiring. 

Make the applicable connections using the wiring diagram provided in the fan kit. If you’re uncomfortable with home wiring, consider hiring an electrician. 

Secure all wiring and attach the ground. Cover the blower motor and turn on power to the fan. If it comes on, you’re good to go. 

Finishing Up

Replace the cover to the vent fan and secure it in place. Caulk or silicone any gaps between the fan and ceiling. 

Retest the operation and that’s it, you’re in the venting business.

An exhaust fan makes an excellent addition to any bathroom and removes the water and odor vapors that can cause you bathroom headaches for years to come. With this guide, we hope you can get a new vent fan installed in no time!

Guest Contributor, Tom Masters  

Transform Your Bathroom into a Luxurious Spa Experience

RH Business Marketing Solutions

IMG_0727.jpeg

Transform Your Bathroom into a Luxurious Spa Experience

Can you imagine just how perfect it would be if you could enjoy a relaxing spa experience every day? Well, if you want it, you don’t have to dream it. You just need to go for it. And if this is something that feels like it would better your life considerably, investing your time, money and energy into creating a perfect bathroom spa experience in your own home is well worth it. Even more so if you live in a tropical climate such as Australia where taking the time for a shower or bath is true bliss. But, regardless of where you are in the world, bathroom time is your quality “alone” time and you deserve to make it truly special. So, what’s the secret to your own bathroom spa? Keep on reading to find out.

1. Take care of the colors

First things first: you need to create a relaxing atmosphere in your bathroom. This is one of the simple tricks that you can use even when you’re not ready to invest in your plumbing. In general, spa colors involve soothing neutral colors such as white and beige. You can’t go wrong with these. But before you decide to go in this direction, take the time to think about the colors that soothe you the most. While you should always go with gentle pastel hues, you may find that green, pink, yellow or blue work better for you.

IMG_0731.jpeg

2. Incorporate natural elements

This is where things can get more complicated. But, if you want a perfect bathroom spa in your own home, wood and stone should be a part of it. Wooden elements and stone countertops don’t have to be too challenging if you know what kind of a layout you want. In recent years, Zen-inspired bathrooms have been all the rage in Australia, which is why it’s not that difficult to imagine the best ways to incorporate these elements into your bathroom. In the end, waterproof vinyl wallpaper that imitates wood and stone can be your budget-friendly option. Also, let your creativity run wild. It’s not just about the countertops and shelves. A wooden bench or a similar seating arrangement inside a bathroom is definitely spa-like.

IMG_0728.jpeg

3. The real deal – plumbing

If you’re set on transforming your bathroom into a spa oasis completely, you’ll definitely need to invest more time and money into this project. Essentially, plumbing will be your biggest concern. But, as mentioned, the whole country of Oz fell in love with Zen-inspired bathrooms years ago, which is why you can have a professional service for plumbing in Gold Coast get this done for you. You may want to transform your shower area by making it bigger with proper seating and side table, or you may want to have a whole new spa tub installed. Just make sure to consult with your contractors in order to find the best possible option for your space. 

IMG_0729.jpeg

4. Get rid of the clutter in favor of plants and candles

It’s important to know what your bathroom spa essentials are. You can’t possibly relax properly if there’s clutter everywhere, and especially half-empty bath products you never use. It’s time for a thorough declutter. Get rid of everything you don’t use. The whole point is to keep only those products that you love and that make you happy when you use them. Also, organize them so that you can keep them on display and easily reachable. On the other hand, don’t hesitate to enrich this space with real greenery. There are plenty of plants that thrive in bathrooms. Of course, don’t forget a scented candle here and there.

IMG_0730.jpeg

5. Play with the details

Details are very important for the perfect bathroom spa experience. Just like plants and candles, these can make or break the whole project. In that respect, embrace natural light and openness and ditch the curtains altogether. You want to achieve that warm, relaxing look of a spa with the mentioned natural elements but opting for warm (perhaps bronze or rose gold) pipe and plumbing finishes can look absolutely amazing. Furthermore, a bathroom mat that matches the overall style will add much-needed texture to this room. And if you want, you can add more personality with the use of patterned vinyl wallpaper in strategic places or with an interesting mirror frame. 

While there are some general guidelines for creating a home bathroom spa, the important thing is to always follow your intuition and stick with the theme that helps you relax the most. The concept of self-care is very important in Australia, and it’s time for you to embrace it wholeheartedly. 

Guest Contributor, Diana Smith


Easy Projects Which Will Upgrade Your Bathroom in an Instant

RH Business Marketing Solutions

Easy Projects Which Will Upgrade Your Bathroom in an Instant.jpg

Easy Projects Which Will Upgrade Your Bathroom in an Instant


Every now and then, we find ourselves looking around our home and wondering out loud what we can do to make it a bit better. When it comes to home upgrades, people tend to put it off because they feel (and fear) that it takes way too much time and money to do properly. Luckily for us, this isn’t necessarily true and today you can find plenty of simple and easy projects which will make every room in your home look amazing. Today, we’re focusing on bathrooms.

Lighting.jpg

Lighting

Replacing light fixtures in your bathroom isn’t too difficult and you don’t have to go bankrupt to make it happen. Light is very important in every room, especially here, as this is where you’ll be brushing your teeth, washing your face, applying your makeup and taking it off. Standard ceiling lights are convenient but also very boring, and you should try experimenting with other options. You could try installing a couple of wall scones next to the mirror, bring in a small chandelier, and even try recessed lighting. Not only do these look different, but they will also help you see better and set the mood when you want to relax.

Storage cabinet.jpg

Storage cabinet

Your bathroom shouldn’t be filled with furniture but a sturdy storage cabinet is a must because there has to be a place where you’ll keep your cleaning supplies, towels, and makeup. Still, it doesn’t mean that it should look bad just because you need it to be functional. You can choose one of those modern freestanding cabinets that come with glass-panel doors. The doors will lighten the visual impact which the piece has and you can keep linen in there. If you have a lot of medicine and makeup products, opt for a solid-door cabinet or the one that has enough drawers.

Faucets.jpg

Faucets

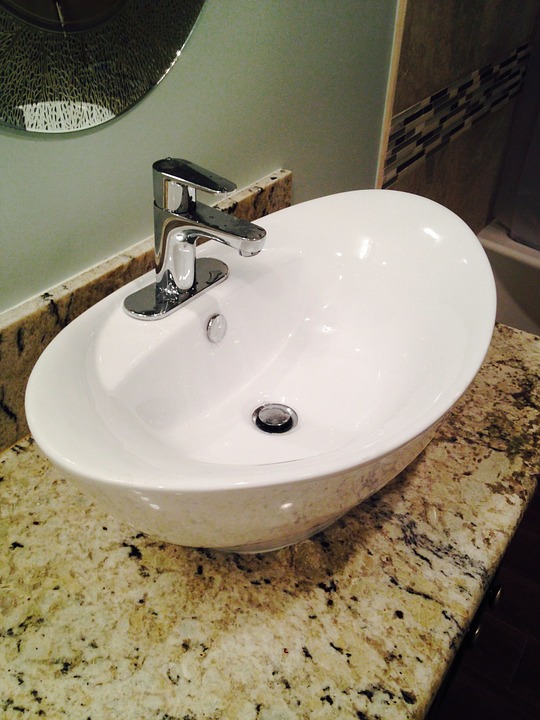
Taps and faucets are very important parts of a bathroom, and if you’ve had yours for a while, it might be a good idea to have them checked and replaced. Even though you might do this yourself, if you’ve never done it before, it might be a good idea to call a reliable Perth plumber to replace them for you. In different parts of Australia there are different types of taps and faucets used, and if you’re not sure whether it’s time to replace them (or if you simply want to switch to something a bit more contemporary), don’t hesitate to call professionals.

Shower curtain.jpg

Shower curtain

No matter if you have a shower or a bath, there’s something you can’t imagine a bathroom without – a shower curtain. You might not have a curtain but a glass shower doors instead, but you could still find a way to upgrade it. Curtains should be washed regularly while glass doors should be cleaned in order to remove water stains. You can choose to install one of those modern frameless doors if you want a change, or you could always buy new shower curtains. Not only are they easily replaced and easy to maintain, but they can also become a powerful design feature, especially if you pick something funny or colorful.

Details

The rest of the rooms in your home are probably filled with accessories and simple decorative pieces, so why wouldn’t your bathroom be as well? You can start by bringing in potted plants, but you should make sure they’re the kind that can stand heat and humidity well – small ferns, certain types of orchids, and spider plant will thrive for sure. Replace your bath mat with a new one made of real pebbles and living moss and you’ll see how different these look on the floor. You can also try getting your hands on soft new towels in bright colors which will brighten the room up.

Just because you want to upgrade your bathroom and make it look more modern and cozy, it doesn’t mean that you have to spend a fortune doing so. You don’t even have to replace the bathtub and tiles to achieve this effect, with a few simple projects, you can completely transform your old bathroom into a peaceful oasis you’ll love.

Guest Contributor, Diana Smith 

Pro Tips: Pull Off A Bold Design In A Small Apartment 

RH Business Marketing Solutions

Plumber in crestwood

Pro Tips: Pull off a Bold Design in a Small Apartment 

Although a small apartment does bring certain design limitations, it still offers numerous creative possibilities that will help you give your personal touch to your home. Just because you have limited floor space, it doesn’t mean that you can’t go big and bold with décor. On the contrary, bold design features will help you draw attention to your stylistic expression and away from your small space. As long as you keep it balanced, everything is possible in a small apartment.

Play with a feature wall

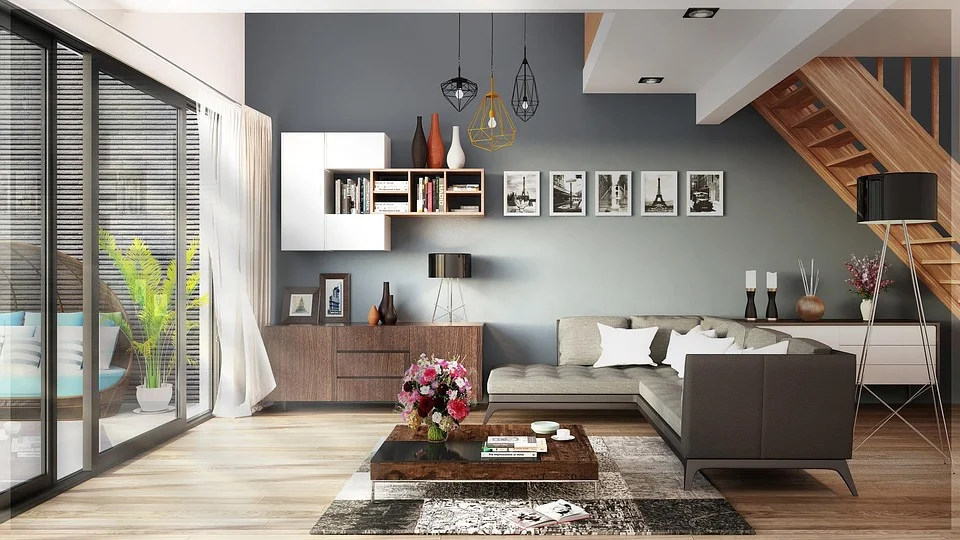
A single feature wall can make a world of difference in a small space. You have a range of inspiring ideas, from an exposed brick wall to a textured wallpaper design. If you want to create a bold artsy look, you should opt for a mesmerising gallery wall. It’s surprisingly easy to create and it can be quite affordable. You don’t even have to stick to paintings, but combine them with artistic installations, photographs, vintage dishes and other unique embellishments. However, you need to create a balanced, cohesive look, so make sure to pick a specific theme or go with gallery items that share the same feature.

crestwood plumbers

Accentuate the floors

You should let your floors take the floor and dominate a room. Embellishing your floors with boldly designed area rugs is a great way to refocus the attention from your small space. If you want to try something different and unexpected, you can always paint your floors or create a beautiful stencilled design.

Or emphasise the ceiling

Don’t leave your ceiling behind because it can also help you create a “wow” effect in your tiny apartment. Instead of going with a traditional white ceiling paint, you can go with a different hue that will help you make a statement. It doesn’t have to be dark or overly vibrant, but simply different and surprising. Applying wallpaper onto your ceiling is another stunning option and a popular design trend. Either way, turning your ceiling into a statement feature will definitely help you accentuate the height of your space.

plumbers in crestwood

Go bold with colour

Typically, a small apartment can greatly benefit from a bright, open colour scheme. However, you can actually use bold, dark hues without creating an overwhelming look. The key lies in aiming for balance and harmony, contrasting your dark features with bright ones. What’s more, a dark wall can make you feel even cosier in your space since it will create a cocoon-like effect. Whether you want a vibrantly coloured piece of furniture or a dark accent wall, go for it!

Stripe up

A simple feature such as a striped wall can actually create an amazing look in a small apartment. You can go with vertically striped wallpaper and use it as a stunning statement in your tiny home. It will create a bold look while also creating an illusion of height and drawing the gaze upwards rather than to your limited floor space. Similarly, if you want to elongate your space, you should go with horizontal lines.

plumber in crestwood

Choose a functional bed, then make it dramatic

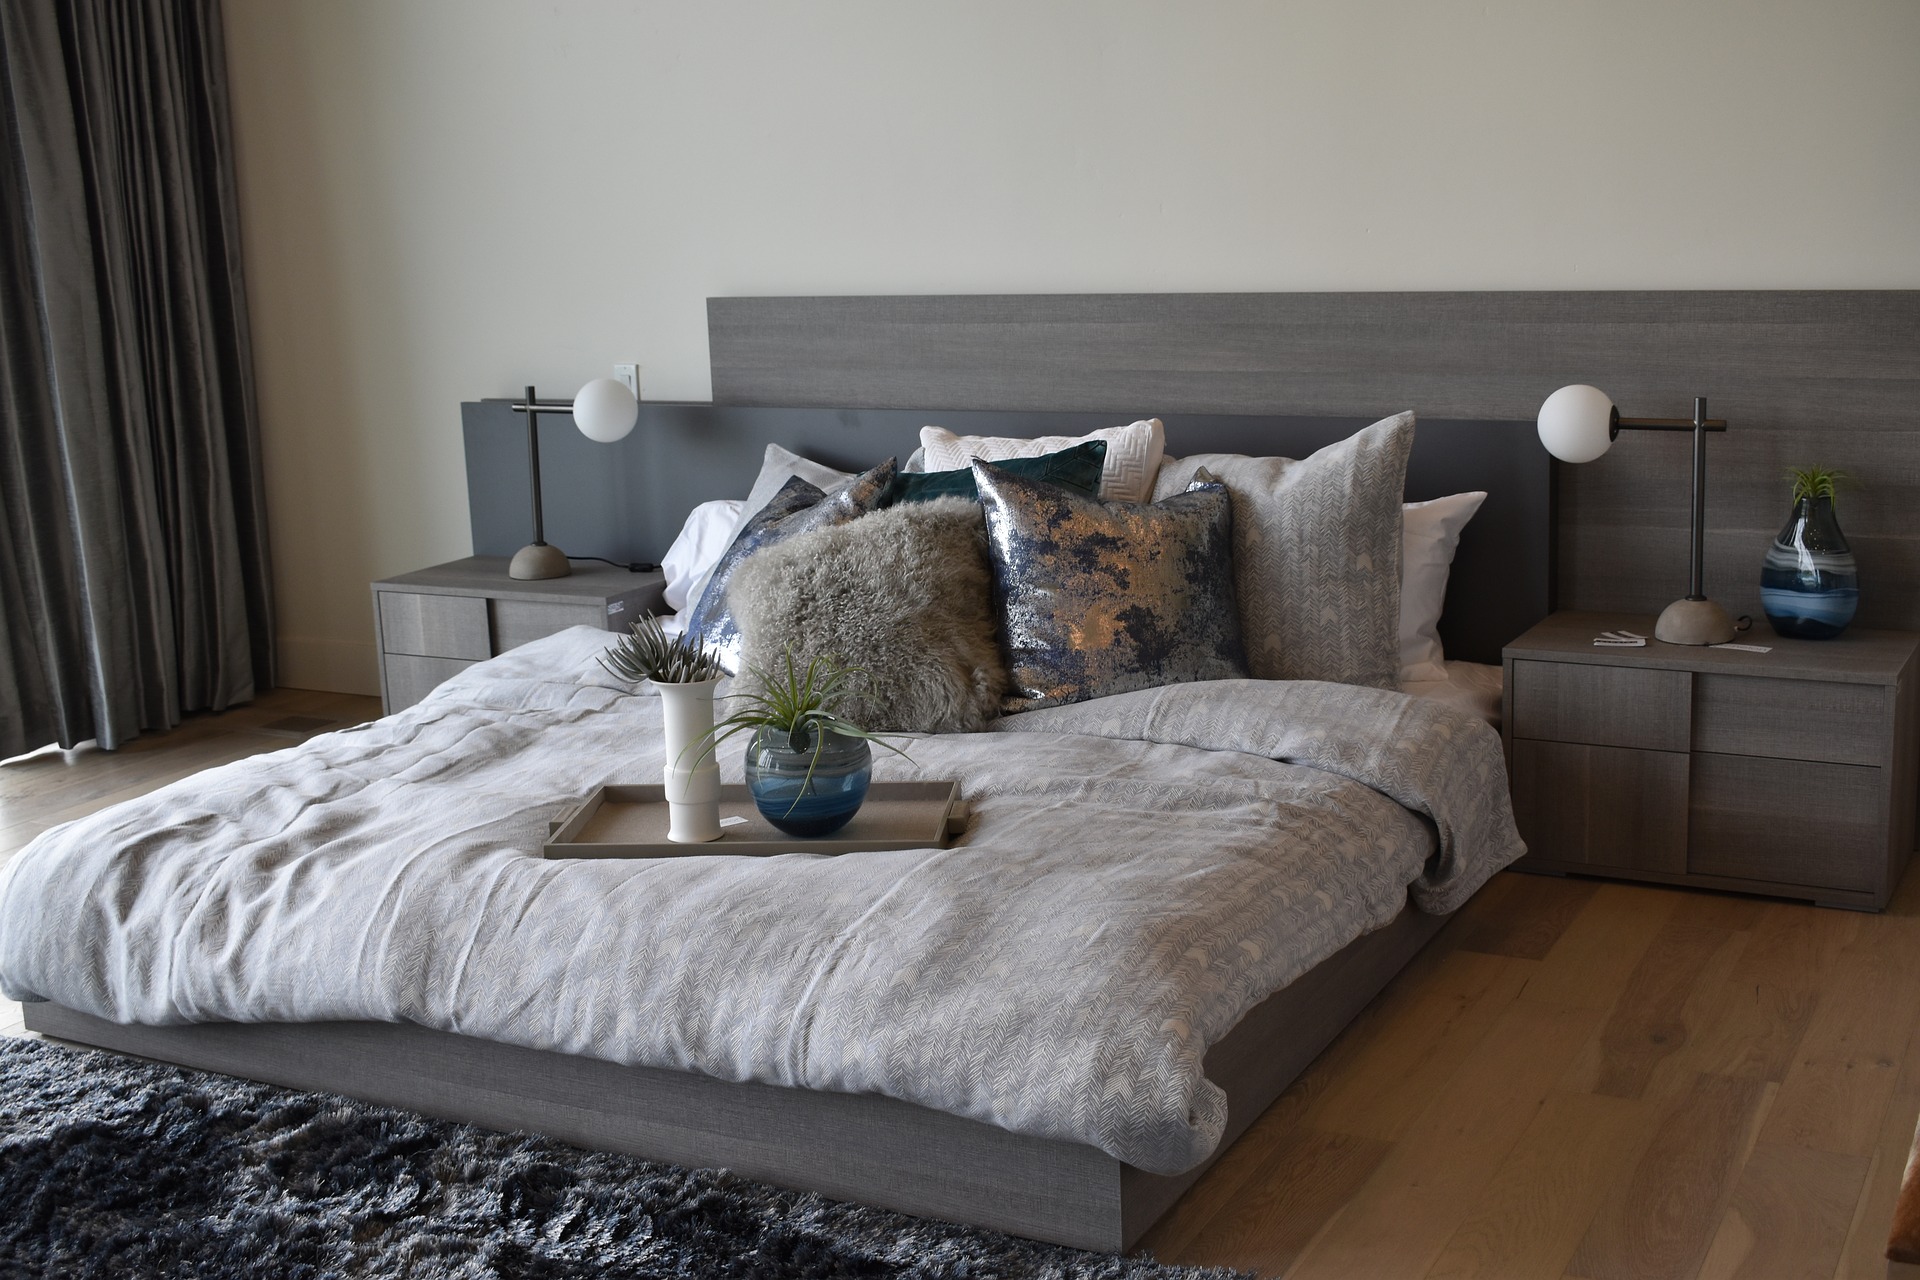
If you have limited space in your bedroom, you can create a dramatic look, as well as an illusion of spaciousness. You should accentuate your bed as the dominant focal point, but make sure to pick a convenient design. Introducing a modern and functional bed with drawers is the perfect solution for a small bedroom. It will help you create an open, airy atmosphere by providing you with more storage and freeing your space from clutter. A clutter-free atmosphere will make your bedroom seem more spacious. Afterwards, you should use your comfy bed as a bold statement by picking authentic sheets or designing a lovely headboard if it doesn’t already have one.

Embellish with stunning mirrors

Mirrors are always welcome to a small home since they can create an illusion of openness and spaciousness. But why not use them to add a touch of drama to your tiny apartment, as well? You can find authentic mirror designs featuring unique shapes, unusual frames and intricate details. Not only will they visually expand your space, but they will also elevate your home décor.

crestwood plumber

Create a “wow” effect with statement furniture

Furniture is always the most dominant element in every room, so why not use this to your advantage? You can let a single piece of furniture stand out and create a bold look in your space. Whether you choose an unusual upholstery design or just paint your old desk a vibrant colour, you’ll definitely create an authentic atmosphere in your apartment.

Choose bold curtains

If your apartment has a low ceiling, you can actually use curtains to trick the eye and make your space appear higher. You just need to place curtain rods as close to the ceiling as possible, which will make your windows seem bigger. On top of all that, you can create a dramatic effect by picking a bold curtain design or colour.

These inspiring ideas will help you design a home that truly reflects your style without being constrained by its size. 

guest contributor

Chloe is a graduated journalist from Adelaide and a regular contributor to Smooth Decorator. She loves everything related to decor, aesthetic and lifestyle topics. She is also passionate about photography. Her biggest dream is to travel the whole world and take some stunning photographs of beautiful places. Beside all this, she enjoys drinking coffee and reading a beautiful book from time to time.

Guest Contributor, Chloe Taylor