Google+

contact us

Use the form on the right to contact us.

Day or Night, we are here to serve you. Leave your plumbing problem to us.


Tinley Park, IL

(708)845-7922

Residential and Commercial plumbers and plumbing contractors available in Orland Park, Tinley Park, Oak Lawn, Palos Heights, Midlothian, Oak Forest, Homer Glen, Mokena, Frankfort, and the surrounding Chicago South Suburbs. Emergency plumbers.

copper water lines.jpg

Kevin Szabo Jr Plumbing Blog

Kevin Szabo Jr Plumbing is Tinley Park, Orland Park, Oak Forest, Midlothian, Orland Hill, Homer Glen, Mokena, Frankfort, Crestwood, Palos Heights, Oak Lawn, local plumber. Read our blog for advice, tips, a good laugh, and basic home improvement.

**We are moving our old blog to our new and improved website. Too see all our posts visit kevinszabojrplumbing.blogspot.com

Filtering by Category: October 2022

5 Home Improvements You Must Do Before Your Baby Is Born

RH Business Marketing Solutions

Home preparations for your baby’s arrival can get exciting, expensive, and exacting at the same time. From interior design to stocking up on baby care essentials, you have to ensure that every square inch of your home is baby-proof and ready in a matter of months. 

Whether you are 90 days or nine months pregnant, you surely are carrying a lot–physically, emotionally, and mentally. To help you prepare better and feel more at ease when the big day comes, we have rounded up the most important home improvements to consider for safer and more seamless child-rearing at home. Let’s read on!

Ensuring better infant management with home improvement hacks

1. Designate a nursery area

While babies typically spend the first six months of their lives beside their parents, it is advisable to still prepare a nursery room or do a bedroom renovation to facilitate better sleep for your child and ensure that there’s a designated space where your child will be much safer. 

You can browse for nursery room ideas online to further visualize how you want your baby’s space to look. But generally, some room renovations you can do are patching and wall painting, assembling furniture, or sprucing up an area of your bedroom for your baby. The goal is to ensure simplicity and functionality. After all, the less complicated, the better and safer.

In terms of furniture, make sure that you have furnishing and upholstery that are easily washable if you opt to have some, multi-functional baby furniture like a crib that can convert into a toddler bed, and night lamps, among others. If you want to make your baby’s room look more adventurous, you can also include compact baby items like an easy-to-assemble play gym that can be useful as your baby continues to grow up.

2. Prepare your baby’s bath space

Whether your baby area is inside your bedroom or in a separate nursery room, it is essential to also ensure that there is a baby bath area that is easily accessible. Typically, infants bathe in the kitchen sink. However, this practice poses hazards given that kitchen utensils are also usually beside the sink. 

An ideal home renovation option is to install a sink in your nursery room or make sure your bedroom’s bathroom sink is baby-friendly. Doing this is both useful and practical, especially if it’s bath time. This allows you to easily access everything–from the bathing sink to the bedroom area where your baby can freshen up, change clothes, and relax.

Pro tip: You may also opt to install a diaper-changing table in your sink for ease of pre- and post-bath preparations.

3. Baby-proof all the areas of your home

Besides your baby area, you have to ensure that you baby-proof your home. Months will fly past and soon enough, your little ones will be running around and be all over the place to check out new things. Knowing this, your home’s overall interior design should be prepared to support your baby’s visual learning journey and adventures rather than restrict them.

Some ways to baby-proof areas of your home include moving breakables out of reach, blocking the staircase with a temporary gate, covering plug points, locking shelves in the kitchen and bathroom, refinishing floors, and getting stain-resistant upholstery and rugs.

4. Clean your light fixtures, air vents, and fans

Newborns are highly sensitive to household dust and other airborne allergens. This is why you want to make sure that every inch of your house is almost dust-proof before your little one arrives. 

Make sure to check areas and fixtures that hold dust and debris. These include baseboards, ceilings, electronics, cabinets, ceiling fans, light fixtures, and air vents. It may take days and the right devices or tools to fully clean them, but peace of mind and your baby’s safety will make all the preparations worth the while. After all, your baby’s little lungs are worth all kinds of protection!

5. Get Smart Storage

What better way to feel at ease than to see your home decluttered and ready for your baby? For instant decluttering, one big step to take is to prepare the right storage types for your baby’s items. This way, it will be easier for you to organize your baby’s personal care items, equipment, toys, and many more. 

Having a baby means the room will easily get filled up with toys and nursery equipment (after all, who could resist delighting babies with fancy toys and useful care items?). To optimize your space, smart storage solutions are the way to go. These include buying a crib or a baby cot with a built-in changing table, closed storage boxes or shelves that you can use to place diapers and other baby care essentials, draw dividers, flexible storage like foldable toy boxes and organizers, and adjustable furniture like wall bed or a wall-mounted table.

In conclusion

Welcoming a baby into your household surely involves a lot of preparations and expenses. Sure it may be tiresome at first, but when the baby comes, every effort will be worth it.

Consider the critical home improvement projects above as you prepare for your baby’s arrival. Surely, you will be on the right track for effective, safer, and efficient child-rearing.

Guest Contributor: Sophia Young

Factors To Consider Before Taking Emergency Plumbing Services

RH Business Marketing Solutions

Imagine being in the coldest months of winter with temperatures dipping to as cold as 4 degree Celsius and your boiler gives up. On further inspection, you find your water lines have busted due to the vaulting pressure in them due to ice blockage.

In Such an Instance, What Do You Do?

Finding a plumber in Sydenham and surrounding areas is the first order of business. They are known for providing the best possible emergency services, which would help you bring back your heating in a matter of hours. But with the business soaring in winter, you might likely end up paying way more than the ongoing charge for your services. Hence, here are a few factors to keep in mind while undertaking emergency plumbing services.

●      Gas Safe registration

Before undertaking services from any provider, make sure that all their workers are Gas Safe registered. Gas Safe registration is a bona fide approval from the Gas Safe Register, which approves that the technician knows how to handle gas leaks and is authorised to install and operate equipment that uses flammable gasses.

●       Response Time

Since it's possible that you might be in a real predicament with your heating gone, it's essential to make sure the response times your company quotes while appointing plumbers are short. The shorter the response time, the quicker you get your services back.

●      Flexible Timing

Disasters can strike anytime; make sure you find a service provider who promises to work at flexible times and according to your availability. During peak times, it's possible that it might be hard to get a plumber according to your availability; hence plan and conduct regular maintenance of your heating system.

●        Fixed charges

Make sure your plumber in Sydenham quotes one fixed price for your complete repair. When you book your services, ensure clearing the air so that there would be no surprise charges applied after the inspection or due to bank holidays or congestion. It's possible that your service provider might quote a price after a prior inspection of the damage that you might have suffered. This usually happens when the injuries are significant and require an extended period of repairs.

●      Guarantee of work

Make sure the plumbers deliver a guarantee of work for the repairs they conduct. This can save you from additional charges of recurring damages. If your plumbing service provider is hesitant to do so, employ the services of some other service provider.

●      Materials Used

Before booking a plumber, make sure you ask the service provider about the kinds of products and materials they use. The information gained should also be considered when choosing a service provider during an emergency. You would not want them using products which leave them the most commission while ending up in a breakdown frequently.


●      Heavy Water Leakage

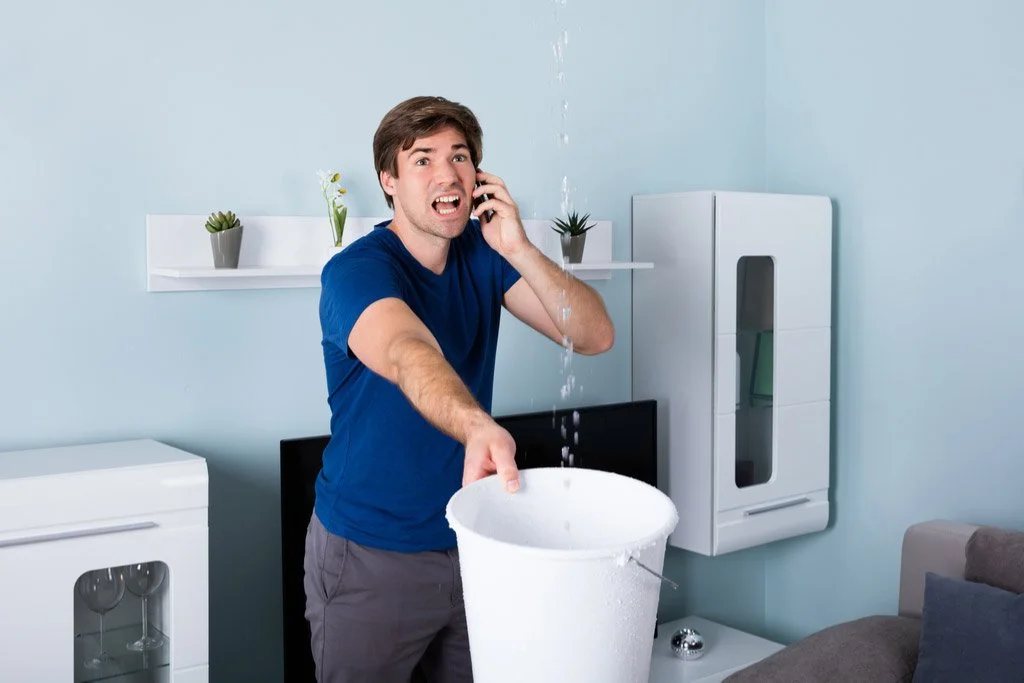
In case of heavy water leakage, try turning off the main supply lines of your house's water network or lines coming from your boiler. This step can help you save your other equipment from water damage.

●      Warranty

As a precaution, while buying a new boiler, make sure to read thoroughly through the guarantee and warranty leaflet and understand the terms and conditions pertaining to which your damages would be reimbursed. If possible, take extended warranties as well for future safety.

The last thing you would want in a situation of emergency is to handle the additional hassle of making sure that the repairs are done correctly and make sure that they would last a long time. Drop the hassles of examining and possibly correcting the maintenance, and hire experienced plumbers who can help do the right job at once.

Enjoy Your Winters, Tension-free

Let the winters be a joyful tenure full of warmth and composure, and let the hassles of maintaining your heating and plumbing to the best plumber in Sydenham and surrounding areas. You can also undertake regular maintenance, ensuring you do not spend a lot at once when the system breaks down entirely.

Make sure the external piping in your house is insulated before the winter, or accumulation of ice and residue can lead to pipe bursts which would lead you to take emergency services. Undertake the policy of prevention being better than cure and make sure to maintain and service your heating systems regularly. Your health is the biggest virtue you process. Take care of it and ensure that your heating works fine before the first fall of winter.

Excessive exposure to cold without central heating can also lead to a severe drop in ambient temperatures within houses, becoming a prominent cause of a decline in health. With your boilers and heating services working fine, all these conditions can be avoided without any hassles. Let the winters be a formidable phase of enjoyment and joy, let Christmas bring you all the pleasures possible with the health of your family intact, undertake plumbing services and make sure your family enjoys the winter in the best way possible.

Guest Contributor: James Burton

How to Caulk a Kitchen & Bathroom

RH Business Marketing Solutions

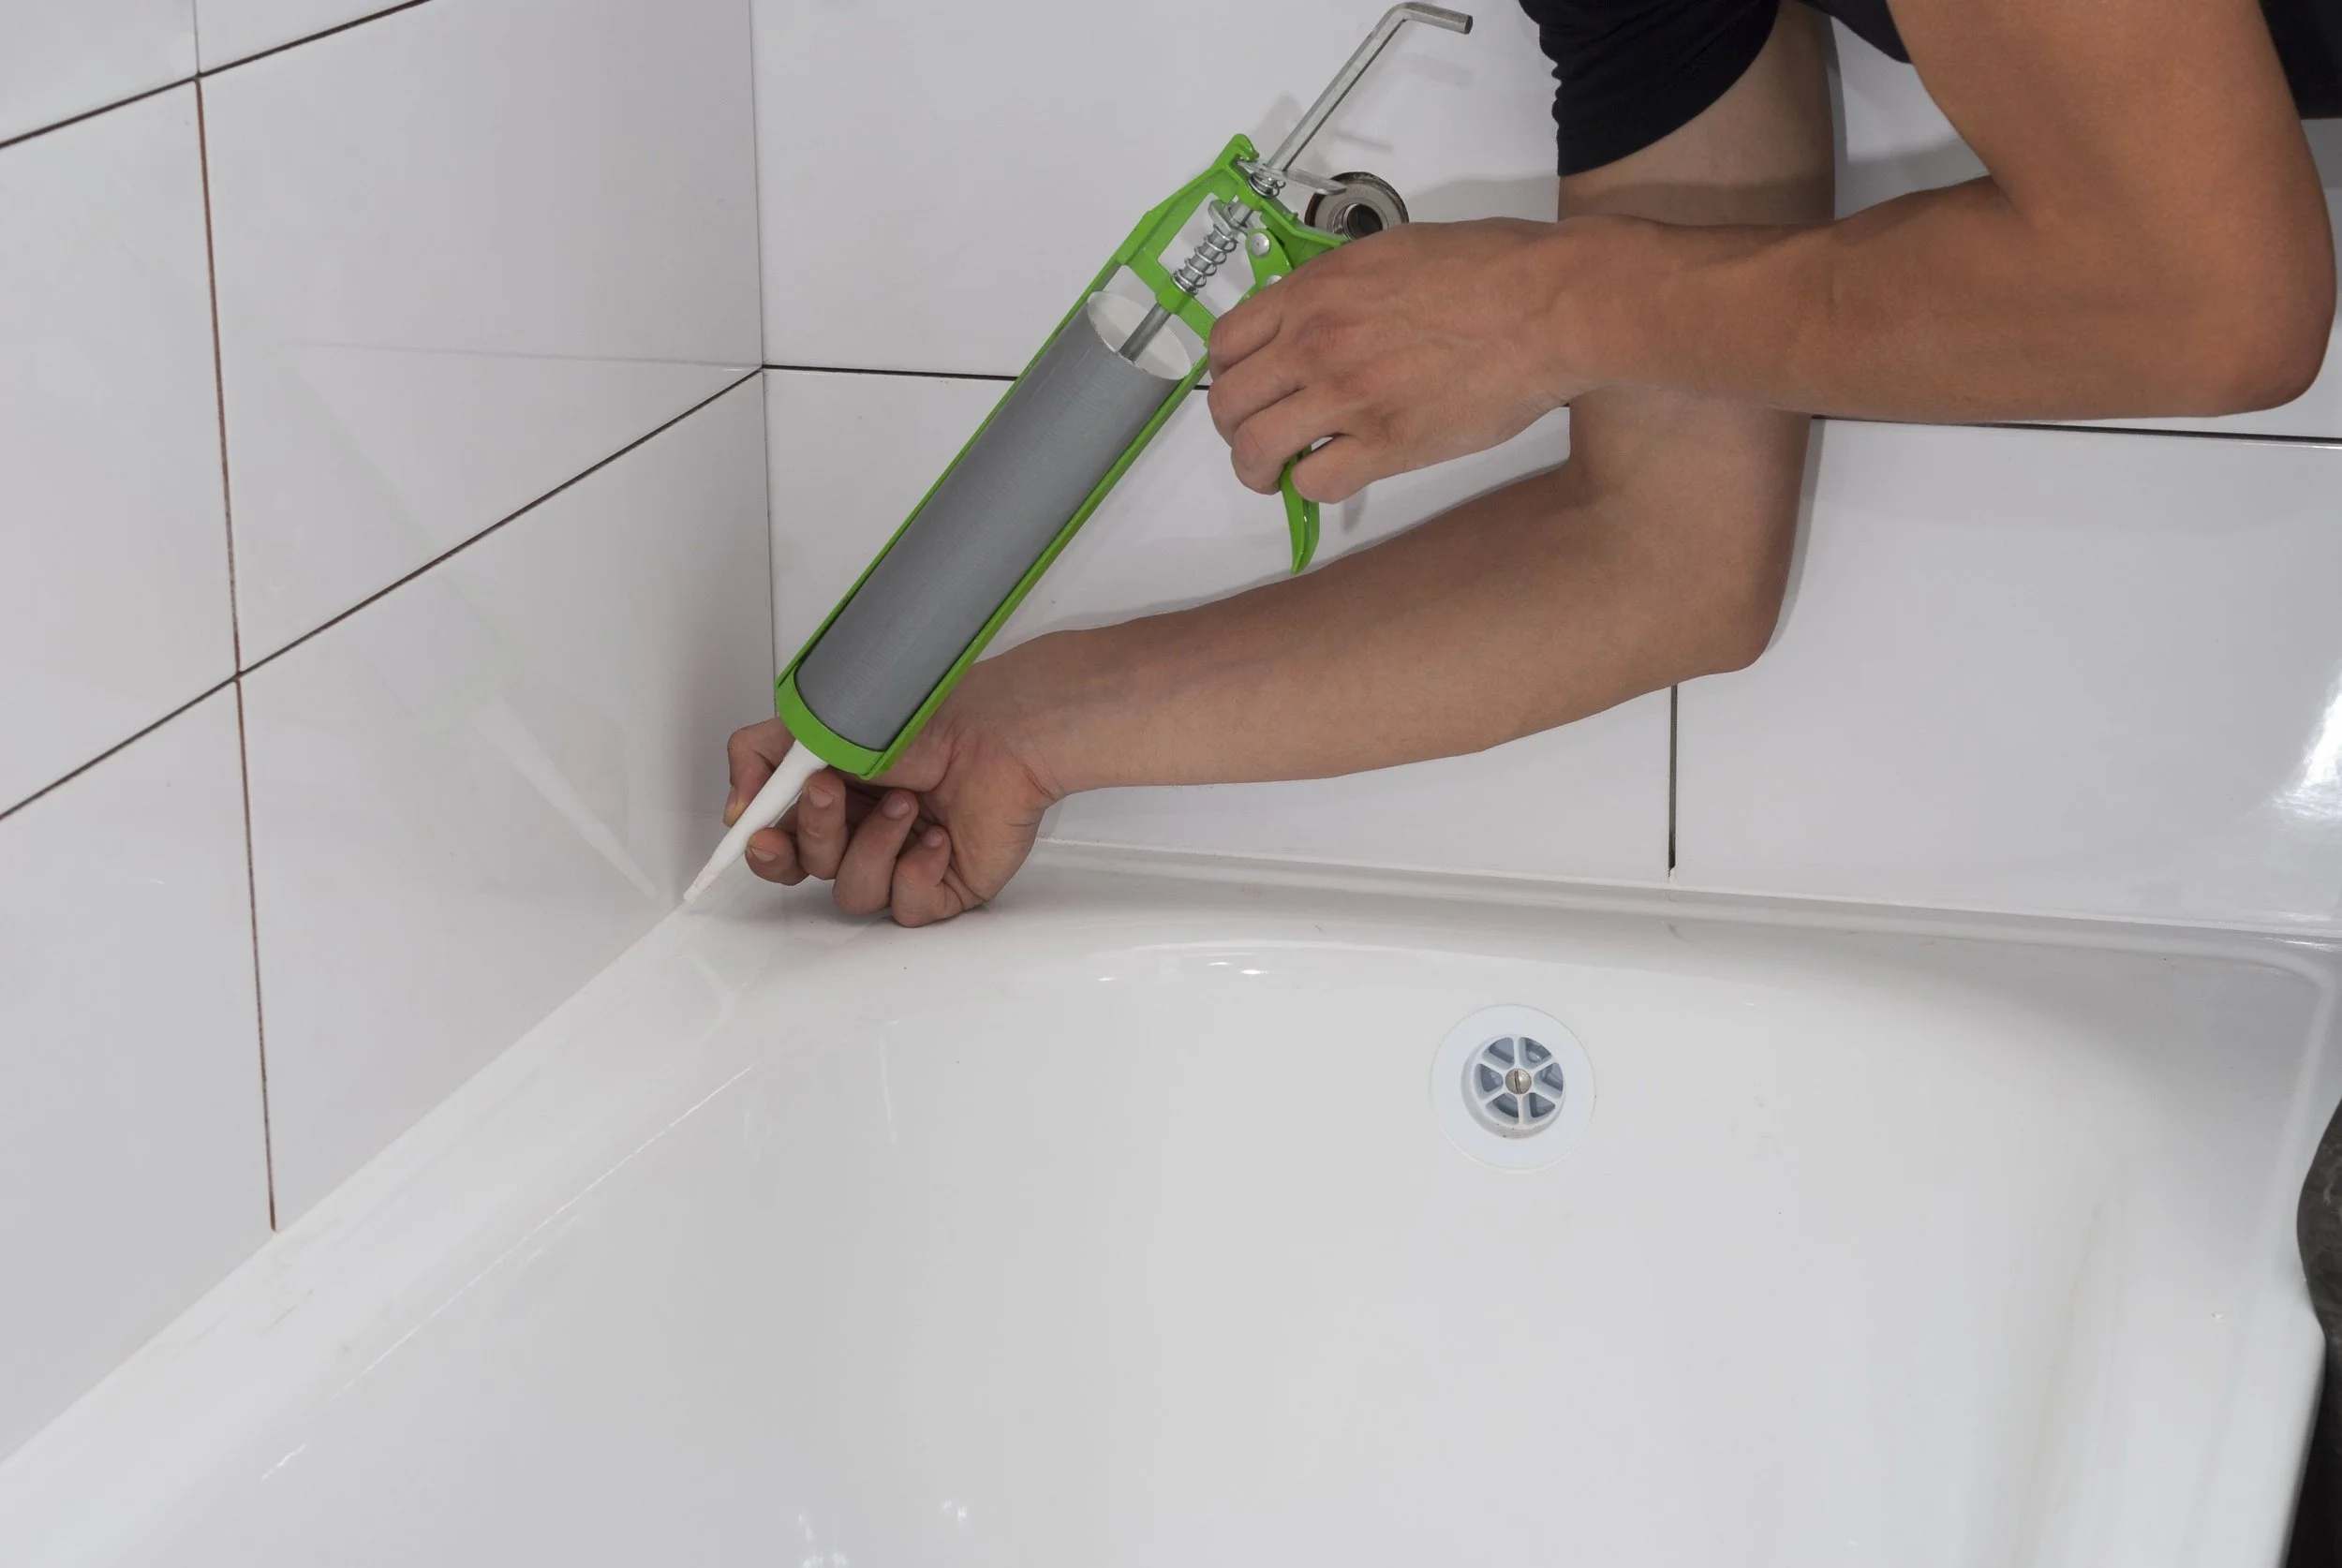
Caulking is a meticulous process, and when it’s done properly, produces a quality, smooth look which finishes out a project. There are several ways you can caulk an area, and with the right tools and technique, your kitchen or bathroom can really stand out.

Follow these steps to ensure a great caulking job:

●      Purchase a mold-resistant silicone caulk

●      Invest in a high-quality caulking gun

●      Remove any old caulk

●      Clean the surface thoroughly

●      Correctly apply the caulk

●      Apply a smoothing spray

●      Allow for adequate drying time

Buy a quality, mold-resistant silicone

A silicone sealant is your best choice for caulking in moisture-prone areas. This sealant is a kind of adhesive that, when applied, makes a watertight seal between two surfaces at the joint where they meet.

When silicone is first applied, it is rather “gelly” and can be challenging to work with if you’re new to the process. Once it dries, though, it becomes more rubber-like, enabling it to be both flexible and protective, making it the preferred choice by many professionals and DIYers.

When you’re caulking a kitchen or bathroom, using mold-resistant silicone of good quality is imperative, as these areas will be exposed to constant moisture. You need silicone that is suitable for all kinds of materials, such as glass, stainless steel, ceramic, glazed and porcelain fixtures, and plastic laminates.

Especially with tubs and showers, the caulking material needs to be able to expand and contract as the weight and temperature of the area change. Since silicone caulk is more waterproof and flexible, it doesn’t crack or rot as easily, preventing mold growth.

Purchase a high-quality caulking gun

This cannot be stressed enough. Even if you only caulk once every few years, you’ll want to invest the money in a high-grade caulking gun. Choose a gun that is made from a heavier-gauge metal. Cheaper guns produce poor results and can have you fussing and fuming trying to get them to work properly. 

Once you have the best gun, practice a bit first to get used to the caulking gun, how to handle it, and get familiar with the products so you can do the job right the first time.

Clean the surface before application

If you are working with an established home, you may have to remove the old caulk before applying a new one. It will be especially important for you to completely remove all of the old caulk material so no water is able to get in between the gaps.

You’re also going to be removing any dirt or dust from the surfaces, again, to ensure the best adhesion ability for the caulk. Once you have cleaned the entire surface, making sure it is completely free of any old caulk and dirt or dust residue, wipe the surface with bleach or isopropyl alcohol.

Applying the caulk correctly

When you are ready to start caulking, you’ll want to cut the nozzle of the caulk tube at a 45-degree angle. Some tubes of caulk have 45-degree markings directly on the tube end, showing you how to cut it.

This slant, regardless of how wide you will need your caulk bead to be, will allow you to apply the caulk at an angle, which makes for a much smoother bead. When you're caulking the narrow joint spaces in areas of kitchens and bathrooms, this slanted cut on the tube will allow you to maintain better control over the amount of caulk being released from the tube.

The key to a smooth caulk bead is holding the tube at the same angle as the cut you made while you’re pulling the tube along the joint you need to caulk.

You also need to consider the amount of pressure you’re applying and the speed with which you are moving along the joint. This is where the practice comes in handy, as it will help you get a feel for the best method in both these areas of application.

As you’re going along, don’t worry if you leave a gap. It’s better to go back and make a second pass than it is to move too slowly and have a lot of extra caulk to clean up.

When you are caulking along a tub or shower, as well as around the tile of the backsplash in a kitchen, you'll want to maintain a steady flow of caulk pushing out of the tube. Once you reach the end of the bead, lift up the tube quickly and let off the pressure. Be sure to clean the tip of the tube before you start another line.

Don’t forget to spray on a smoothing applicator!

One step that many people may not be aware of is to use a finishing spray on the caulk once you’ve finished applying it to the joint. When you’ve applied the caulk, you can take a bottle of simple isopropyl alcohol and spray the area.

Smooth the bead with your finger, and the alcohol will provide lubrication to keep the silicone from sticking in areas you don’t want it to. You can also use warm soapy water or glass cleaner instead of alcohol.

Finish it off with the right caulking tool

To create the cleanest finish for your caulking project, you’ll want to use a caulking took, or a “pull stick,” to create those perfect lines. By finishing with a caulking tool, you not only smooth the bead of the caulk but also push the caulk down into the joint securely. The finishing tool will trim off any excess caulk, too. 

You can invest in a high-quality tool that promises perfect results every time.

This type of tool will be either plastic, rubber, or stainless steel; you’ll just want to be sure whatever type you choose is flexible enough to smoothly glide over the caulk bead without dragging it and making a mess. You can also try a popsicle stick, which has a perfectly rounded end for a smooth finish, or use the bottom side of a plastic spoon.

Allow time for the caulk to set

Once you’ve finished applying, smoothing, and finishing your caulk, leave it undisturbed and dry for as long as the caulk manufacturer recommends. Add some additional time, if you can, to ensure maximum curing time. Do not use the sink, tub, or shower until this cure time is complete, or else the moisture will interfere with the drying process.

Now sit back and admire your handy work.  

About The Author

Correct caulking Melbourne are the leading joint sealing applicators in Victoria, they have over 10 years’ experience in all types of construction from custom homes to high rise buildings.

How to Keep Your Belongings Safe During a Move

RH Business Marketing Solutions

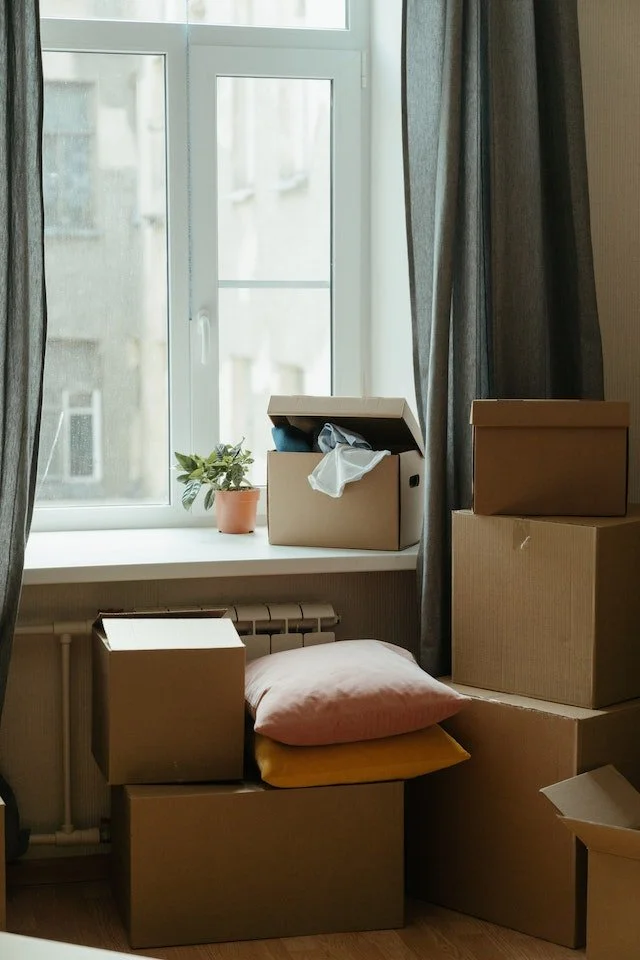
A move is a big part of life and it's not just about physically packing up everything you own and lugging it across town. Along with the boxes, you'll likely have sensitive information about yourself and your family to keep safe. Find out how you will keep your belongings safe during a move.

1. Make a Moving Packing List

Before you unpack your boxes, you need to make a packing list. You want to include everything from furniture and electronics to your favorite family photo albums and irreplaceable mementos.

Location is important and if you are moving far away, such as out of state, this is the time to find an experienced mover specializing in long-distance moves.

2. Consider a Professional Moving Service

If you are moving long distances, don't risk your belongings by trying to make a move on your own. Hiring professionals like for car shipping services in new york you can ensure you have someone to watch over your items and ensure that none of them are lost or damaged in the move.

3. Know What to Pack First

When you organize your belongings, think about what is most important to pack first. The most important items must be in your possession immediately after moving. The rest can get packed afterward.

4. Request Insurance Coverage

Before arranging for a mover, make sure you know what specific coverage you have for damages and losses that may occur during moving services. A good moving service will provide insurance coverage for these types of losses so that if something does happen, you are protected.

5. Address Your List of Possessions

It's easy to miss something in the shuffle of your move. That's why it's important to take care of business with all items on your packing list before your movers arrive. Each item should get checked off as you're packing it so that you know exactly what is getting moved and when.

6. Pack Media

Including media in your move will take up a lot of space and can be difficult to pack efficiently. However, you must consider protecting all the important removable media in your house. It can include photos, movies, music, and data storage media like laptops and iPods.

7. Know the Laws of Your Destination

Different areas have laws regarding moving stuff around, so you should check them out in advance. Your move will go much smoother if you are familiar with the basics of your destination's regulations and you'll better understand your options should something get damaged or lost.

8. Pack Slowly

You might be anxious to get your things packed, but rushing through this step can lead to mistakes and that can easily lead to more stress. Take the time to pack each box carefully and you will feel much more at ease when your move is complete.

9. Label Everything

There are few things worse than unpacking your things only to discover that they've moved around or that you couldn't figure out what was in the box. Include the room where something got stored on the label and the date it was packed. You don't want to get lost without your possessions. That's why you should also pack an inventory list of everything in each box, including the items.

10. Back Up Your Computers and Electronics

Your best bet for backing up important files is using an external hard drive or similar devices. You want to ensure that your external hard drive gets securely packed along with the items you want to keep safe.

11. Make a List of Important Phone Numbers

Include contact information for your important family members and the numbers for all utility companies you may need to contact after your move. It will come in handy if you are moving far away from everything familiar and a phone call is the only way to get things done.

12. Be Careful with Mail

It can be easy to get overwhelmed when you move, but you don't want to forget about your mail and important documents. Unclaimed mail will get returned to the sender, so you need to make a plan in advance for how your mail will get handled once your move is complete.

When you move, there are many things to consider; keeping your belongings safe and secure is one of the most important. When you take care of the necessary tasks before, during, and after your move, you will relax without any worries about your possessions.

Guest Contributor: McKenzie Jones

6 Plumbing Tips For Planning Your Garden's Irrigation System Well

RH Business Marketing Solutions

If you're one of the many people who love spending their days gardening, you know that proper irrigation is key to keeping your plants healthy and looking great. A well-planned irrigation system can save you a lot of time and hassle, especially during those hot summer months. This blog post will discuss six plumbing tips for planning your garden's irrigation system well!

1. Know the size of your garden

This may seem like a no-brainer, but it's important to know the exact dimensions of your garden before you start planning your irrigation system. This will help you determine the best way to water all of your plants without wasting any water.

If you have a small garden, you can probably get away with using a simple hose and sprinkler system. However, if you have a large garden, you may need to invest in a more complex irrigation system. Namely, you'll need to consider the size of your water pump and the number of watering zones you'll need.

2. Consider the type of plants you have

The type of plants you have in your garden will also impact the irrigation system you need. For example, if you have a lot of delicate flowers, you'll need to be careful about how much water they're getting and make sure that the water pressure is not too high. On the other hand, if you have mostly succulents and cacti, you won't need to water them as often and can get away with a less complex system.

If you're not sure what type of irrigation system is best for your plants, consult a professional! They will be able to recommend the best option based on the types of plants you have.

3. Think about the climate

The climate in your area will also play a role in how you irrigate your garden. If you live in an area with a lot of rain, you probably won't need to water your plants as often. However, if you live in a dry climate, you'll need to make sure that your plants are getting enough water. For instance, if you want to plant grapefruit trees in a dry climate, you'll need to make sure that they're getting at least 20 gallons of water per week. The optimal time to water them is early in the morning so that the leaves have time to dry before nightfall.

4. Use a timer

One of the best ways to ensure that your plants are getting the right amount of water is to use a timer. This way, you can set it and forget it! There are a variety of timers available on the market, so find one that fits your needs and budget.

If you have a large garden, you may even want to consider investing in a weather-based irrigation controller. These controllers will automatically adjust the amount of water your plants are getting based on the current weather conditions. No matter what type of timer you use, make sure that it is durable and can withstand being outside in the elements.

5. Use the right nozzle

The type of nozzle you use on your hose will also impact how well your garden is irrigated. There are a variety of nozzles available, so make sure to choose one that is best for the plants in your garden. For example, if you have delicate flowers, you'll want to use a low-pressure nozzle.

No matter what type of nozzle you choose, make sure that it is durable and can withstand being outside in the elements. You don't want your nozzle to break in the middle of watering your garden! Otherwise, you'll end up with a big mess (and a lot of angry plants).

6. Test your system

Once you have your irrigation system set up, it's important to test it out to make sure that it is working properly. Water your plants for the amount of time that you would normally water them and then check the soil to see if it is moist. If not, adjust the timer or nozzle until you get the desired results.

It's also a good idea to check for leaks in your system. Turn on your irrigation system and then walk around your garden to see if you can spot any leaks. If you do find a leak, make sure to fix it right away. Leaks can waste a lot of water and end up costing you money!

Following these tips will help you create an irrigation system that is perfect for your garden. With the right system in place, you can water your plants without wasting any water!

How To Choose A Proper Countertop To Fit Your Needs

RH Business Marketing Solutions

Are you looking for a new countertop? If so, choosing the right one for your needs is essential. There are many different types of countertops available, from granite to quartz. But, which one should you choose? This blog post will list some helpful tips for getting the perfect countertop for your home.

Choose the right materials

First, consider the material. There are various options, each boasting its benefits but there are also drawbacks. For example, granite is durable and easy to care for, making it a popular choice for many homeowners. However, it can be expensive. Quartz is another option that is becoming increasingly popular. It's less costly than granite and has a similar look. The reputable countertop providers behind Stone Boneyard recommends that in choosing the suitable countertop material, you consider your budget, lifestyle, and the overall look of your kitchen. The overall look of your kitchen is essential because the countertop will be one of the most visible features.

Choose the right color too

The color of your countertop is another essential consideration. You want to choose a color that compliments the overall look of your kitchen. If you have a modern kitchen, you may want to choose a sleek, white countertop. If you have a more traditional kitchen, you may want to choose a warmer color like brown or black. Again, it's essential to consider the overall look of your kitchen when choosing a countertop color.

Think about your lifestyle

When choosing a countertop, it's crucial to think about your lifestyle. For busy households, you'll want to select a material that is easy to care for. In this case, you can choose between granite and quartz, which are both excellent choices. You'll want to choose heat and stain-resistant material if you entertain often. Granite or quartz would be good choices here as well. However, laminate may be a better option if you're on a budget. Laminate will work well in most kitchens and is much less expensive than granite or quartz. At the very least, all you need to do to maintain the laminate is wipe it down with a damp cloth.

Get professional help

Once you've decided what you want, it's time to start shopping. The best way to find a good countertop is to get recommendations from friends or family members who have recently remodeled their kitchens. Your contractor may also have some helpful recommendations. Once you've found a few options, it's time to compare prices. Get quotes from multiple companies to compare apples to apples. This means getting the same materials and colors quoted. Finally, don't forget to factor in installation costs. This can vary widely depending on the company you choose and the complexity of your kitchen. For instance, if you have a complex layout or unusual countertop shape, it will likely cost more to install.

By following these tips, you'll be sure to choose the perfect countertop for your home. With so many options available, it's essential to take the time to consider all of your options before making a decision. By doing so, you'll be sure to find the perfect countertop for your needs. Rest assured that with careful consideration, you'll find the ideal countertop for your home.

Laundry Room Plumbing Tips: How To Maintain Plumbing Like A Pro

RH Business Marketing Solutions

Laundry room plumbing is one of the most overlooked areas of every home. Unfortunately, this can lead to mishaps such as drain blockages, clogged supply lines, damaged appliances, and even flooding. Luckily, we’re here to help you prevent all this — and more — from affecting your laundry room. 

Dealing with a flooded and dysfunctional laundry room is the last thing any homeowner wants to do. In this article, we give you tips on how to maintain your laundry room plumbing like a pro. 

5 Laundry Room Plumbing Tips to Consider

Most people put off necessary plumbing maintenance for fear of paying expensive laundry services costs. Regardless, regular plumbing maintenance can help prevent problems from affecting your laundry room. Additionally, it can extend the life expectancy of your appliances — saving you more money in the long run.

Use these tips to get the most out of your laundry room.

Tip #1: Regularly inspect hoses.

Washing machines and dryers have all sorts of hoses connected to them. Each one serves a different purpose; however, all of them can wear out over time. It’s best to regularly inspect the machine hoses for cracks, holes, or tears. Not only can these issues cause unwanted leaks, but they could also compromise your washing machine’s electrical components. 

Generally, washing machine hoses should be replaced every five years — or as indicated on your washing machine’s user manual. If you suspect something is wrong with your supply line or drain line, you’ll have to replace the equipment quickly. Visit your local hardware store or plumbing supply store. You could also contact a plumbing professional like us to help you resolve the situation.

Tip #2: Inspect the pipes for leaks.

If your laundry room has exposed pipes, it can be easy for them to acquire cracks and holes that eventually lead to leaking. Water damage is an inevitable result of pipe leaks, so acting quickly in the situation is necessary to prevent further problems. Contact your plumber to conduct regular inspections on your laundry room pipes. 

Tip #3: Flush the p-trap. 

The p-trap is the u-shaped bend that’s that connects your washing machine’s drain to the sewer system. This part of the drain line contains water that prevents sewage gases from re-entering your home. Unfortunately, p-traps tend to dry up when they aren’t in frequent use. When the water inside the p-trap completely evaporates, foul odors can start to seep into your home, causing discomfort and even illnesses to your family. 

If you notice your laundry room is smelling less appealing lately, a quick p-trap flush should do the trick. Pour a bucket of water into the p-trap to create a fresh seal to prevent sewage smells from wafting into your house. 

Tip #4: Place a strainer over the drains.

Wet lint might seem like the least of your problems when it comes to laundry room plumbing; however, it’s actually one of the things you need to watch out for. Wet lint can easily get into pipes and hoses during the draining process. Over time, some stray pieces of lint can get stuck inside the hose walls. This can cause poor drainage and even clogs in your pipes. If not addressed immediately, clogged pipes can also lead to burst pipes — which is not a problem anyone wants in their house.

Luckily, there are strainers designed specifically for washing machine hoses and pipes. These strainers can be bought at any hardware store at relatively low prices. They may also be bought online if you don’t want to make the trip to your local hardware. Experienced DIY-ers can easily install the strainer in their washing machine pipes while some may need expert assistance. 

Contact a professional if you don’t know how to install your strainer.

Tip #5: Only wash full loads of laundry.

As surprising as it might sound, small laundry loads are more harmful to your laundry room plumbing than full loads. Washing machines typically use 40 gallons of water for each load. Using 40 gallons for a single shirt and a few pairs of socks means you’re using your plumbing wastefully. You can extend your laundry room plumbing’s life expectancy by batching your laundry — waiting until you have enough to equate to a full load. If you absolutely need to get a single piece of clothing washed immediately, consider handwashing it as opposed to using your washing machine. 

Maintain Good Laundry Room Plumbing with Kevin Szabo Jr Plumbing!

Here at Kevin Szabo Jr Plumbing, nothing is more important to us than the happiness and safety of our clients. Thus, we ensure that the services we provide are both affordable and efficient. Our plumbing professionals are trained in the latest methodologies to meet industry standards. Whether it’s cleaning the drains or doing preventative maintenance on your laundry room plumbing, you can rest assured that our technicians will handle the job with utmost care and professionalism. 

For more details, please visit our website or send us an email containing your concerns and requests. 

CALL TODAY 708-845-7922

We look forward to working with you!

Guest Contributor: Sophia Young

What are Simple Ways to Decorate a Dorm Room?

RH Business Marketing Solutions

Choosing the Right Furniture and Accessories is Easy

Moving out to go to college can be an unsettling experience, but for students who have chosen good furniture, a dorm room can feel like home in no time.

Dorm rooms are almost uniformly small, slightly grungy, and can get cramped fast if roommates don’t coordinate a design plan early on in the school year. Most rooms will come with beds and desks, but otherwise, providing furniture and accessories for the dorm will be left up to the students who live there.

How to Choose Bedding for College Dorms

Many colleges have extra-long twin mattresses to accommodate very tall students. This will require the purchase of specifically fitted sheets, but fortunately these aren’t too expensive and come in as many colors and designs as students themselves. Choosing a simple, dark color or pattern will be best for hiding food or ink spills that occur on the bed and reduce the need to buy new sheets as a result of a stain.

Communicating with a roommate or roommates ahead of time about what colors are preferred will help in choosing a color scheme for the room and its furniture. If one student has fuchsia bedding and the other hot pink, the clash of colors will be annoying to both parties.

It’s important in choosing bedding that a duvet or bedspread that is warm and comfortable is on the list. Winter nights can get cold even in a well-heated dorm, and having a stylish, cozy bedspread can make all the difference. Finding sheets and a duvet that coordinate the room and still express the style of each student can be done easily at any department or bedding store.

Storing and Organizing School Items for Dorms

Keeping things organized in a dorm involves more than a few bins, and is much more stylish. Filing cabinets, containers with drawers and shelves can all be found in matching colors and patterns in most stores or places like PB (Pottery Barn) Teen. Talking to a roommate about how much room is available for storage items, a refrigerator, and a microwave. Then deciding on a color scheme will make the purchase of shelving and storing units much simpler.

Organization skills are very important for students who are committed to getting good grades, and having a convenient but attractive place to keep things will help both roommates stay motivated in keeping the room clean.

College Dorm Room Furniture

For rooms that can fit a futon, they make great places to sit and eat, work on homework or watch TV. Finding a futon with a cushion colored to match the decorations of both roommates should be simple, and having a comfortable place to sit and talk can be a great way to break the ice for new roommates.

If a university does not provide a desk, places like Walmart and Meijer sell inexpensive desk and chair sets that would be perfect for use in a dorm room. As most desks also end up being tables, it’s a good idea to find one that won’t be damaged by spilled liquids or heat. Having an extra chair can also be nice for students who plan on having company as well, if a futon would take up too much space.

Decorating Dorms with Posters

Most dorm room walls are white or gray cinder block walls – not much to look at. Adding posters, pictures or paintings can instantly make a room more comfortable and homey for the students. It’s important to communicate with roommates on how much wall space each person gets, what types of images may be offensive, and start there.

Picking posters and pictures that remind a student of favorite movies, good memories from home, or are familiar and fun can add a dimension of comfort to the room from day one. Sprucing up the bare look of the room will help students make the transition from home to school without too much trouble.

Buying inexpensive posters online can help avoid students needing to get frames for posters. Most colleges will not allow students to nail things to the wall. So buying a poster that can get torn or ruined after a year or two of use is financially wise.

Choosing Curtains for Dorm Room Windows

Windows in dorms are generally small, but often come with a shade and a curtain rod if students wish to buy curtains to go with the room. Again, communication with roommates on who will bring curtains and what color they will be is essential in making sure that the curtains chosen will coordinate with the room’s ambiance.

Buying inexpensive curtains that will help block or allow sunlight and maintain the temperature of the room will be essential in making the dorm feel more comfortable for the students. Adding colorful and patterned curtains will also improve the look of even the barest room.

While moving away from home, there are simple things any student can do to make a small dorm room feel comfortable enough to become a second home. By communicating with roommates, selecting durable bedspreads and sheets, decorating the dorm room walls and keeping organized, any student will be much better suited to college life.

About the author: Erica R. Gibson is a content writer on essaywritercheap.org. She writes primarily on the subject of technology and is interested in keeping up with the latest developments in her field. She spends her free time reading blogs and discovering new ways to improve her writing skills.

2022 Halloween Decorated Houses

RH Business Marketing Solutions

Looking to get out of the house during the spooky season to find the best decorated houses in the South Suburbs? Good thing we’ve got you covered. Every year we personally collect and modify a list to compose one giant cheat sheet for everyone to see the best decorated houses. If you do go out and enjoy the houses on this list, please be considerate of their neighbors. Have a wonderful time!

If you are interested in getting on our list for the upcoming years, please email us at kevinszabojrplumbing@yahoo.com with pictures and/or videos of your decorations, as well as your “name” for the decorations and address.

Plumbing Considerations When Remodeling Your Kitchen

RH Business Marketing Solutions

The kitchen is a vital part of every home. After all, it is where all the food is made, prepared, and enjoyed. This is why it is a must to have a clean, tidy, and operational kitchen. Remodeling can be challenging even for a seasoned veteran, but it can bring many benefits. Remodeling also opens up space for other considerations, such as plumbing. Plumbing is crucial to every good kitchen and should also receive good treatment. Remodeling your kitchen leaves you a place to do just that. Taking care of your plumbing means investing in the future and also reducing the chance of many things going wrong. In this article, we will be discussing some of the plumbing considerations when remodeling your kitchen.

Remodeling your kitchen

Remodeling is an excellent way to boost the productivity of your kitchen. But making specific changes can also mean that you will have to put a halt to the usage of that kitchen. Not all remodeling changes are significant and require a lot of your attention. Some of them, though, require you to think about rerouting plumbing and electricity, making it a challenging process. Before we head deeper into plumbing considerations, let's take a quick look at what improvements you can apply to your kitchen when remodeling:

 · touchless faucets

· beverage stations

· island sinks

· additional pantries

· water filtration system

At Kevin Szabo Jr Plumbing, we know that these remodeling changes can be an excellent opportunity to undergo some of the plumbing changes as well. Some of them definitely entail that some plumbing changes will occur. Knowing the scope of the remodeling can significantly help when undergoing plumbing changes, so everything falls into place as it should.

Plumbing Considerations When Remodeling

When undergoing kitchen remodeling, it is best to know what you will be doing. Understanding the scope of the process and what parts of the current setup will be changing is the key to success. This is very important as you can find yourself changing many things, only to find out that plumbing and electricity haven't been changed at all and can't fit into remodeled kitchen. Experts at Pro Movers Miami suggest measuring and accounting for both remodeling and plumbing rerouting. 

Rerouting your pipes

Let's be real now, rerouting pipes is probably a must when remodeling your kitchen. As this can be a reasonably challenging process, it can also be an opportunity to improve. This means it will take additional effort and time to rearrange all the pipes to complement the new kitchen design. But it is also a great way to replace old or unfunctional pipes that are not only a liability but also a danger. Broken or leaking pipes, if left unchecked, will cause significant damage to your property and should be dealt with as soon as possible. Putting in new and modern pipes will drastically lower the chances any of these mishaps will happen along the way. Investing in pipes is a good investment in the future.

Remodeling your kitchen is an excellent time for rerouting the plumbing pipes.

Shutoffs as one of the important plumbing considerations when remodeling your kitchen

Remodeling your kitchen is an excellent time to invest in shutoffs. Shutoffs are necessary when taking full control of your appliances. Dishwashers, sinks, and refrigerators can all be fitted with shutoffs, so you can handle how much of the water they will receive. This will help you act against any leakage that can occur. This is a smart and relatively cheap plumbing consideration that can significantly help you.

Additional plumbing when remodeling

Sometimes when undergoing kitchen remodeling, it can be an excellent time to install additional plumbing. The old plumbing system may not be adequate enough to support new appliances and whole kitchen remodeling. You may opt-in to add additional appliances, or a second dishwasher, meaning your old plumbing system may struggle to deliver. This is why contacting your expert plumber to help you with the project and assess the necessity of additional plumbing may be a great strategy.

If you have any plumbing considerations when remodeling your kitchen, contact your expert plumber.

Remodeling your kitchen on a budget

But what if you don't have enough money for extensive remodeling? Well, to be fair, although kitchen remodeling can be very much a steep endeavor, there are more affordable ways to do this. To remodel your kitchen without breaking the bank, there are a couple of things to do. You can go with making a new paint layer for your kitchen or opt for not buying everything new. You also don't have to break the old tiles and, instead, invest in lighting. Lighting is an excellent and cheap way to bring out the best in your new kitchen.

Appliances and kitchen remodeling

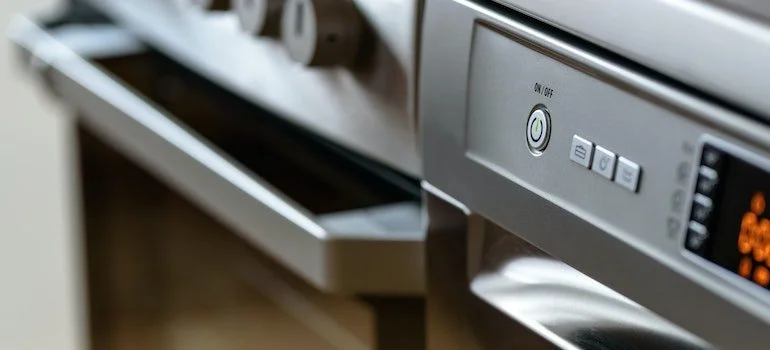
Appliances play a considerable part in every kitchen and its remodeling. When undergoing remodeling, it is very common to change your old appliances. No matter which of them you choose, they will probably run on water or gas. This is why you may also consider upgrading your current pipes or plumbing system. Modern-day appliances sometimes rely on, for example, bigger water consumption instead of electricity. New supply lines, waste lines, gas lines, garbage disposals, and hot and cold water supply lines may also be needed. Consider all of them when remodeling your kitchen to have maximum effect.

New appliances require some plumbing changes

Water filtration system

If you are undergoing remodeling of your kitchen, it can be an excellent time to consider installing a water filtration system. A water filtration system helps you filtrate the water coming to your tap and has many benefits. Probably the biggest pro of a water filtration system is the money you will save. Clear water for everyday use and low cost for basic home maintenance are also great parts of owning one such system. Although reasonably cheap, it requires some preparation, and kitchen remodeling represents an excellent opportunity.

There are many plumbing considerations when remodeling your kitchen to think about. No matter which one of them you consider applying, they will surely bring great benefits to your cause.

Guest Contributor: Sophia Perry