Google+

contact us

Use the form on the right to contact us.

Day or Night, we are here to serve you. Leave your plumbing problem to us.


Tinley Park, IL

(708)845-7922

Residential and Commercial plumbers and plumbing contractors available in Orland Park, Tinley Park, Oak Lawn, Palos Heights, Midlothian, Oak Forest, Homer Glen, Mokena, Frankfort, and the surrounding Chicago South Suburbs. Emergency plumbers.

copper water lines.jpg

Kevin Szabo Jr Plumbing Blog

Kevin Szabo Jr Plumbing is Tinley Park, Orland Park, Oak Forest, Midlothian, Orland Hill, Homer Glen, Mokena, Frankfort, Crestwood, Palos Heights, Oak Lawn, local plumber. Read our blog for advice, tips, a good laugh, and basic home improvement.

**We are moving our old blog to our new and improved website. Too see all our posts visit kevinszabojrplumbing.blogspot.com

Filtering by Category: October

5 Rookie DIY Plumbing Fails

RH Business Marketing Solutions

I'm sure you've heard that DIY projects are the worst. And while I'm not going to argue with that premise, it's important to remember that sometimes they can be done right! In this article, we'll look at some of the most common rookie plumbing fails and how to avoid them.

Turn off the water valve.

Your home may suffer significant damage from water. Call a plumber if you don't know where the main valve is located!

 It's simple to forget that the main valve may be used to cut off water, therefore it's crucial to do so before beginning any plumbing repair. Additionally, make sure that your plumbing system is free of leaks (even little ones) and that all drains are clear.

Wretched threaded connections.

Overtightening is when you tighten a threaded connection too much and strip the threads out of the head. This happens because you’re using a ratchet wrench or wrench that has a lot of torque, which can easily strip the heads if done incorrectly.

Under Tightening is when you loosen a threaded connection too much and allow water to leak into your line or pipe system. This happens because we often use tools like pliers (which don't have enough surface area) or screwdrivers (which don't have enough grip). If this happens in an older home, there's no way to fix it without ripping apart walls and ceilings—or replacing everything from scratch!

Misread/Cannot read the gauge.

The most common rookie mistake is to not read the gauge. If you’re tightening a fitting, it’s important that you use a wrench that matches up with the pipe size and threading of your connection (and this doesn’t always mean a pipe wrench).

If you are using an adjustable wrench, make sure that it has enough grip on all sides of whatever part of the fitting is being tightened—you don't want any slipping or slipping out as pressure builds up inside. Also keep in mind whether or not what kind of metal your connection is made from will allow for an adjustable tool; if not, then stick with using only one type throughout all connections.

You installed new components without replacing old parts.

Without exchanging worn-out components, you inserted new ones. 

This is a beginner error that is simple to see and can cause expensive issues in the future. Even if you don't even realize you're doing it until it's too late, the damage will have already been done if your pipes leak or your toilet runs nonstop. The good news is that most problems can be resolved quickly by simply replacing one component of your plumbing system. Therefore, be sure to replace any old pipes with new ones before any significant damage happens and after reading our article on how to fix common plumbing issues yourself (and how not to).

You didn’t replace worn-out parts.

If you’re like me, odds are you didn’t replace the old parts on your faucet. Even though they were in good shape when you got it and haven’t caused any issues since then, it might be time to take a look at them again—especially if they're starting to look worn out or rusty. Replacing worn-out parts with new ones can save you money in the long run by extending their useful life and reducing the need for repairs down the line. But how do you tell if something needs replacing? One way is by looking at them: If there's any kind of rust on a faucet handle (or anywhere else), then it's probably time for an upgrade!

It's better to call a plumber if you aren't sure what you're doing.

If you're unclear of how to handle an issue or the appropriate treatment, it's better to consult a plumber.

Do-it-yourself homeowners frequently attempt to solve their problems on their own without consulting a professional. It could be unsafe and possibly very expensive if something goes wrong in your house, particularly when dealing with plumbing issues like leaks and flooded basements.

It's possible for you to think that hiring a plumber just entails out-of-pocket costs, but this is inaccurate. Most usually, the cost of having someone come to your home and perform an assessment will cover their fees (in addition to any materials needed).


If you’re thinking about tackling your own plumbing, remember that it can be a dangerous job. Before you get started on any projects, make sure you have all the right tools and materials and always practice safe work habits. This article offers some great tips for beginners looking to tackle their own DIY plumbing projects from San Francisco plumbing professionals.

4 Wonderful Home Makeover Ideas to Rejuvenate Your Living Space

RH Business Marketing Solutions

Do you feel like your home needs a fresh look? If so, we understand.

It's hard to revitalize a space that you've spent so much time in if neither you nor your guests are enjoying it. But how do you go about finishing a home makeover without spending a fortune or taking forever?

Luckily for you, you've got our top tips. The following ideas will help you bring a new shine to your living space. 

So read on for the perfect home makeover ideas that you've been looking for!

1. Add a Pop of Color

There are many ways to add a pop of color to your home.

A great way to add a pop of color is to add a colorful piece of furniture or a colorful piece of art. You can also add a pop of color by painting a wall or adding a colorful rug.

If you want to add a pop of color to your home but don't want to do a lot of work, you can simply add some colorful pillows or throws. Whatever you do, adding a pop of color will rejuvenate your living space.

Adding a pop of color can brighten up any space and make it more inviting. It is a simple and inexpensive way to refreshen your home.

2. Create a Focal Point

One of the quick home makeover ideas to refresh any room is to create a focal point. This can be done by hanging a new piece of art, a statement piece of furniture, or simply rearranging your furniture.

By doing this, you will draw the eye to a specific area and make the room feel more inviting. It helps to add interest and can be also used to highlight a particular area.

If you want to add a touch of drama to your home, consider creating a focal point.

3. Incorporate Window Shutter

One of the best home makeover ideas is to incorporate interior shutters into your design plans!

Whether you choose wooden shutters for a classic look or plantation shutters for a more modern feel. Adding shutters to your windows can enhance the look and feel of your home.

Not only do they look great, but window shutters can also help to keep your home cooler in the summer and warmer in the winter.

If you're not sure where to start, consult with a professional home designer. For you to get some great ideas on how to incorporate window shutters into your home's design.

4. Use Lighting to Your Advantage

Lighting can make or break your home makeover. It can set the tone for the whole space and make it feel warmer, more inviting, and more personal.

Think about the function of the space. Is it a place to relax and unwind, or is it a space to be productive?

Then consider the different types of lighting and how they can be also used to create the desired effect.

Choose fixtures that reflect your style and make a statement. With careful planning and the right lighting, your home makeover will be a wonderful success.

Be Creative With Your Home Makeover Ideas

If your home is in dire need of a makeover, but you don't have the time or money for a complete overhaul, try these home makeover ideas to rejuvenate your living space.

By making a few simple changes, you can give your home a fresh new look. That will make you feel good every time you walk through the door.

If you think this article is helpful, check out our other blogs!

How to Cut Cast Iron Sewer Pipe

RH Business Marketing Solutions

Many older houses integrate a sewerage system composed of cast-iron pipes. Cast iron pipes were prominent before the invention of PVC pipes. Older houses may still have these pipes and you may need to replace them upon rusting or damage.

There are numerous tools to cut through a faulty cast iron sewer pipe. The most convenient tool to use is the reciprocating tool with carbide-tipped grit. The equipment achieves a clean cut in a fast and less stressful process.

If you don't have a reciprocating saw, you can use other tools including hackswas, circular saws, snap cutters etc. If you don't have these tools, check other ways to cut metal without tools.


What Can Be Used to Cut Cast Iron Pipe?

Commonly found in older homes, cast iron sewer pipes were primarily used for vents, main drains, and large drain pipes. The cast iron pipes are extremely heavy, tough, and prone to rusting. You can cut out a section of cast-iron pipe using various tools and equipment, as shown below;

Hacksaws

You can use old-fashioned hacksaws with good teeth blades to cut cast iron pipes. Hacksaws involve more handy work; therefore, using this tool requires you to exert maximum force when pushing back and forth. 

Hacksaws result in hard work and are time-consuming, especially when you have to cut several cast iron pipes. Use hacksaws to cut cast iron pipes when you have extended hours and energy to spare.

Reciprocating saws

Reciprocating saws feature an attachment at one end of the tool to help hold the long thin saw blade in place. Once triggered, the long cutting blade moves backward and forward at high speed, cutting through the cast iron pipe.

Reciprocating saws are ideal for cutting cast iron pipes as they make the process a breeze. Before using a reciprocating saw, ensure you have installed the right diamond/ carbide grit long cutting blade. The saw blades result in smooth edges on the cut cast iron pipe.

Circular Saws

You can cut cast iron sewer pipes using circular saws in a quick and less stressful way. A circular saw requires integrating a diamond blade specifically designed to cut cast iron material. The saws result in clean cuts and ensure the pipe has smooth edges.


Snap Cutters

Snap cutters are the best tools to use when cutting through cast iron pipes. The equipment is designed to facilitate quick and easy cutting with smooth and even edges on the pipes. Snap cutters resemble scissors with ratchet handles and a roller chain instead of blades.

Snap cutters are relatively expensive, but you can rent one from a reputable dealer. Place the chain around the pipe and wrap it tightly to use the tool. Then apply force on the handles to cut through the cast iron sewer pipe.

Best Blade for Cutting Cast Iron Pipe

Most traditionally made saw blades are made of carbide grit or diamond grit. But the best saw blade for cutting cast iron pipe is the carbide-tipped blade. Carbide-tipped blades provide improved cutting speed and durability in relation to diamond grit blades.

Carbide-tipped blades come in 3 lengths, including 6 inches, 9 inches, and 12 inches. The 8 teeth per inch (TPI) blade is ideal when cutting thick cast iron pipes. On the other hand, the 20 teeth per inch blade is suited to cutting thin metals and hence not ideal for cutting cast iron.

The best blade cut through cast iron pipes is usually 8 inches long, ¾ inch wide, and approximately 0.04 inches thick.


Step-by-step Procedure on How to Cut Cast Iron Pipe

Before cutting, always wear eye and hearing protection when cutting cast iron pipe. Remember, cast iron is heavy, so handle it carefully to avoid injuries. 

There are numerous tools to help in cutting damaged sections of cast iron pipes. Each tool may follow a slightly varying direction as per the manufacturer, but here are general procedures to follow;

Things you will require include;

  • Chalk

  • Saw blades

  • Snap cutters

  • Reciprocating saw

  • Eye and hearing protection

When Using Snap Cutters

Step 1: Make a clear path to access the pipe you are attempting to cut. Then, use chalk to make markings/ cut lines on the pipe. Ensure you make the cut lines as straight as possible

Step 2: Place the snap cutter around the pipe. Wrap the chain jaws of the snap cutter around the pipe. Ensure the chain is evenly wrapped and most cutting wheels are against the pipe. Ensure both hooks are placed on the pipe with the open side up.

Step 3: Rotate the ratchet clockwise to tighten the snap cutter jaws. Ensure the snap cutter jaws are square to the pipe and the chain is in place with the cutting line. You can support the cast iron pipe and keep it steady as you cut it.

Step 4: Apply pressure onto the snap cutter handles to cut the pipe. Let the wrapped snap cutter wheels cut into the pipe. Score the pipe numerous times before you make the final cut.

Step 5: If you are cutting a replacement pipe, rotate the pipe slightly before cutting. Then, repeat the mentioned steps on all other marked cutting lines.


When Using Reciprocating Saw

Step 1: Fit the reciprocating saw with a long heavy-duty metal cutting blade. Metal cutting blades are made with diamond or carbide grit to help cut along hard items.

Step 2: Spray the cast iron sewer pipe with a lubricator to help prevent blade wear.

Step 3: Mark the cut lines using a piece of chalk. Hold the iron pipe firmly and make straight cut lines so you’ll end up with smooth and clean edges.

Step 4: Set the saw at the lowest speed and cut at a steady pace. Do not apply undue pressure on the reciprocating saw; let the blade do the cutting work. Too much pressure/ speed can cause the blade to snap.

Step 5: Complete the cut by continuing with the moderate cutting motion until the entire pipe is cut with a single clean slice.


Cutting Cast Iron Pipe with an Angle Grinder

With the right cutting wheel placed on your sturdy angle grinder, you can cut the cast iron pipe with an angle grinder, especially if your pipework requires replacement. Removing cast iron pipe sections is usually tricky when working in a confined space.

Angle grinder swiftly cuts segments of cast iron pipe in a relatively simple process. The tool isn’t recommended for confined tight spaces as it produces an abundance of sparks. Some of the items you will need when cutting cast iron pipe with an angle grinder include;

  • Steel capped safety boots

  • Flame-resistant long sleeve work shirt

  • Wrap-around safety glasses

  • A pair of sturdy work gloves

  • Respirator mask

  • White/ yellow chalk or crayon

Steps to follow

  1. Fit the metal cutoff blade to the angle grinder and tighten it using the ratchet tool. Upgrade your cutoff wheel to a decent diamond wheel. Fit the wheel properly, and you are good to go

  2. Use chalk or crayon to mark the segments of the cast iron you will be cutting

  3. Wear the recommended PPE gear to protect your eyes, ears, and hands

  4. If you are operating on-site, secure the pipe in position. Then fire up the grinder and begin cutting through the pipe. Make a groove to weaken the pipe

  5. Work around the entire circular section and allow the grinding wheel to penetrate through a single point

  6. Since cast iron is very tough, you can use a cold chisel to finish through the remaining segment


What is the Fastest Way to Cut a Cast Iron Sewer Pipe?

The ideal way to successfully cut cast iron pipe is to carry out the process on a sturdy workspace with the pipe firmly held/ clamped. The fastest way to cut cast iron sewer pipe is using a reciprocating saw and a carbide-tipped blade with 8 teeth per inch spacing.

A Reciprocating saw is a reliable tool when operating in a confined space. Snap cutters are also ideal options as they make quick and smooth cuts.


Frequently Asked Questions

Can you cut the cast iron pipe with a soil pipe cutter?

A soil pipe cutter is a reliable tool when cutting cast iron pipe. The soil pipe cutters come in varying sizes and configurations. The tools feature a chain to wrap on the pipe when cutting.

Soil pipe cutters work with tension; hence the sewer pipe needs to be in decent condition for the cutter to work. Severely corroded or rusted pipes are not suited to cut using these tools.

Can you replace the cast iron pipe with PVC?

Yes, especially if you are dealing with leakages and burst cast iron pipes. Cast iron develops rust, therefore, posing potential leaks. You can replace damaged cast iron sewer pipe segments by installing PVC pipework.

Can you cut a cast iron pipe with a Dremel?

No. A Dremel incorporates a small motor that runs at a high rpm. Therefore, cutting cast iron pipe using Dremel may result in the burning up of the tool.

Conclusion

Cast iron pipes are mainly found in older homes where it was mainly used for large drain pipes, vents, sewer pipes, and main drains. As mentioned, there are different tools you can use to cut your old cast iron sewer pipe. Whichever you choose, use it carefully to avoid injuries.

Guest Contributor: Walter Bennett

7 Best Plumbing Tools For Your Home

RH Business Marketing Solutions

Plumbing issues can occur in your home at any time. But before you think of contacting a professional plumber, it’s essential to figure out if you can handle the repair yourself. 

Fortunately, most plumbing issues are easy to fix. And all you need is the right tools and knowledge to use them.

Since handling a DIY project gives one a sense of accomplishment, investing in plumbing tools to help you solve the issue successfully is crucial. 

If you’re looking forward to purchasing these tools, here are some of the best plumbing tools you might need in your toolbox:

1. Plungers

The first must-have plumbing tool should be a plunger. While it seems insignificant, a plunger will come in handy whenever you have clogged drains. 

A plunger consists of a rubber cup connected to a wooden or plastic handle. When the cup is pushed towards the drain opening, it sucks up the blockage that allows unrestricted water flow.

There are two types of plungers: cup or sink/tub plunger and flange or toilet plunger. Most homeowners are familiar with a cup plunger since it’s frequently used. In fact, most of them aren’t aware of the existence of flange plungers and use cup plungers to unblock their toilets.

A flange plunger is a bit different from a cup plunger. While it works like a sink plunger, a toilet plunger has a protruding rubber flap under its head. This extension acts as a toilet hole seal to allow effective blockage suction.

2. Olive Cutters

An olive cutter helps you to remove old olives from pipes without damaging the pipework (unlike olive pullers). These are equipped with two cutting blades. 

Generally, an olive cutter might be the only tool you require if you need to get rid of olives from a pipe. Olive cutters come in two types: a screw olive cutter and a plier olive cutter. A screw type is ideal for limited spaces, while a plier type is suitable for large spaces.

3. Hand Auger

This tool is vital for removing debris from drains without breaking a sweat. A hand auger is essential for professionals and DIY enthusiasts in similar measures. It’s also used by individuals who want a quicker substitute for shovels. 

If you have a broken pipe, you won’t experience difficulty digging around it using a hand auger.

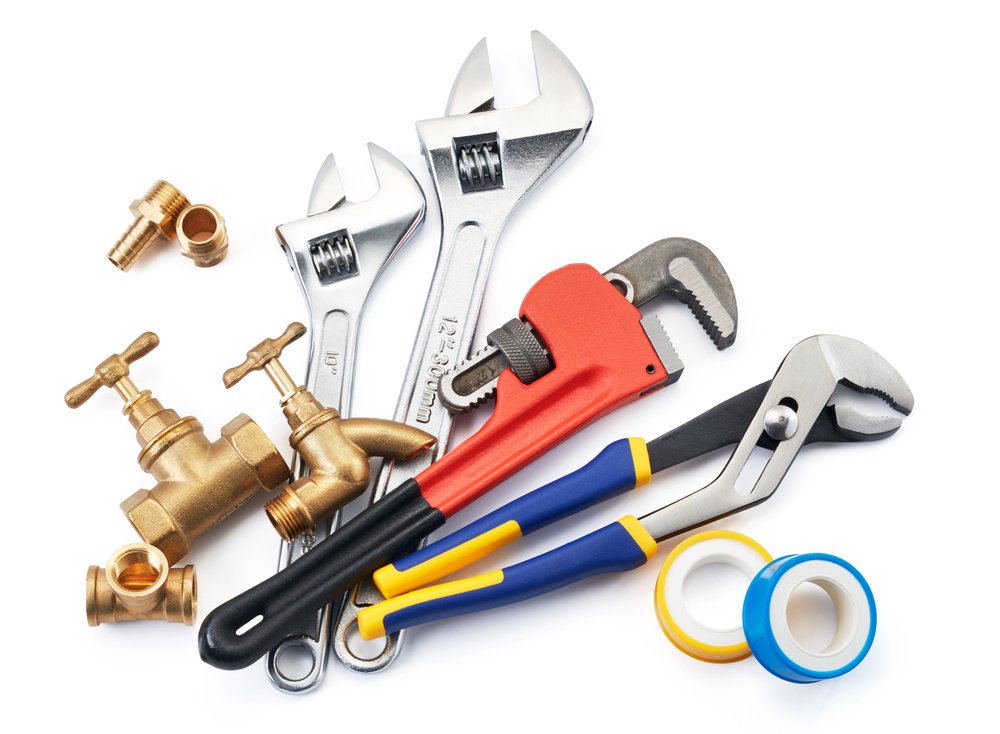
4. Adjustable Wrench

The plumbing system is among systems with countless bolts and nuts. Therefore, you may require a tool that can help you lose and tighten these bolts when undertaking a DIY plumbing project. Luckily, with an adjustable wrench, you have just that. This tool helps adjust the grip size when working with different bolts and nuts. 

A Plumbing Tip: When shopping for an adjustable wrench, it might help to consider choosing six and ten-inch models to allow broad flexibility. A 10-inch adjustable wrench will help with greater reach, while its counterpart six-inch will provide seamless access in narrow areas like under a kitchen sink bench.

5. Plumber’s Tape

With time, the groves attaching fitting screws are bound to get worn out. They cease to create a tight seal, leading to water leaks. Luckily, a plumber’s tape can help seal gaps to prevent water leaks. Therefore, having a plumber’s tape in your toolbox is vital since you might never know when you’ll need it. 

If you don’t have a plumber’s tape, you can seal any gaps with regular duct tape. While this type might be a temporary solution, it may not be effective as a plumber’s tape.

6. Pipe Wrench

This tool is used to loosen and tighten fittings on bigger pipes. When shopping for this tool, you’ll need to purchase two since you’ll need one to hold the pipe while using the other to loosen or tighten the fitting. Since the pipe wrench comes with serrated jaws, it’s advisable to wrap the pipe with a cloth before gripping it to avoid damaging it.

7. Plumbing Snake

A plumbing snake comes in when unblocking a drain is challenging for a plunger. It comes with a metallic coil for easier and quick insertion into the drain. Depending on your requirements and preferences, you can choose a manual or a motorized plumbing snake.

While you’ll need to dig deeper into your pocket to purchase a motorized plumbing snake, it’s worth the cost since it’s more efficient than a manual one. On the other hand, a manual auger is cost-effective but harder to work with.

Understanding that a plumbing snake isn’t ideal for toilets with a flush is vital. If you need to use a plumbing snake on your blocked toilet, invest in a toilet plumbing snake to avoid damaging the toilet.

Conclusion

Plumbing systems experience different problems. These issues can be extensive, ranging from blocked drains to cracked pipes to leaks. Therefore, it's vital for a homeowner to have different kinds of plumbing tools to help correct these issues. 

There are a lot of plumbing tools, with each working differently. All you need is to research the most commonly-used tools to be prepared for any plumbing issue that might arise.


5 MOST COMMON WATER HEATER REPAIR ASPECTS AND SOLUTION

RH Business Marketing Solutions

Most people store their water heater out of their sight, and keep using it without checking

regularly if there is any problem. If any glitch occurs then only they think about repairing it.

However, it seems that a lot of people don’t know that, like other mechanical systems, it is

also needed to check water heaters regularly, and then repair accordingly if there is any glitch to help in making it serve for the possible longest time. On a side note, if you are aware of

any kind of need to repair your water heater by now, then you must be thinking of investing in a water heater. So, if you are already looking for repair your water heater , we recommend you to check out the best water heater repair in San Diego.

Here, in this article, we have discussed some of the most common water heater issues you’re most likely to face, and there are some ways to solve these problems.

1. Having Not enough hot water :

There are a lot of problems that can be caused due to not having enough hot water such as : There should be some problems with the size of your tank, that is why your water heater is not able to provide enough hot water. To solve this problem you can easily change your

current water heater, and bring a larger one which can fulfill your demand with its sufficient amount of size.

The problem of having too little hot water can also be solved, you just need to manage the temperature on the tank’s thermostat. But keep in mind, while adjusting the temperature, be careful that you do not increase the temperature too high, as this can cause an accident.

Furthermore, if you have a tankless water heater, there could be a problem that your water heater might not be powerful enough. There is a chance that you might add more than the required number of fixtures to the unit’s power. You should always check the number of

fixtures that your unit is capable of running and adjust them accordingly.

So this type of problem may cause you to replace your water heater with a more effective one. Although, it is advised to talk to a local water heater repair for identifying the system and its ongoing problems before changing your water heater tank or buying a new one.

There is another problem that you might face is that your water heater is not producing any hot water, which is mostly dependent on what type of water heater you are using. First you need to figure out the issue, if it is a gas-powered water heater, and you are getting cold water even after switching on the hot water faucet, there is a high chance that a pilot light might have blown out. There is another chance that your thermocouple might have errors, and it

also needs to be replaced. Also, for an electrical water heater, the issue could be that your water heater has a wrong heating element that also needs to be replaced.

Again, it would be better to consult a repair professional to get this job done because replacing the thermocouple or the heating element is a risky task to do on your own.


2. Noise and Leakage in Water Tank  

There are few things that could cause terrible noises from your water tank. The most common causes of this terrible banging sounds are some scales might have built up on the heating

elements inside the water tank. To solve this problem, you need to clean the tank monthly to get rid of scales. If you still face the noise problem even after cleaning the tank, you need to contact a water heater repair professional to fix the issue. This can also result in leakages.

Although, leaks are the problems that are caused from loose connections. To solve this problem, you need to tighten them. But if the leak is caused by your tank, that means again your tank needs to be replaced. Leakages can cause a huge problem, so do not ignore if such problems occur.

Therefore, to solve the problem of leakage always contact the best water heater repair in San Diego.


3.The problem of Smelly Water

If you’re facing the issue of having smelly water, then most probably, it’s because bacteria is present in your water tank. You can easily solve this problem by yourself just by cleaning the tank, and pouring a solution of hydrogen peroxide and water. After that, let the solution stay in the tank for about more than two hours, and then clean the tank out with new water.

Even after cleaning your water tank you still face the same issue, then you need to reach out to your local repair professional to get help.


4.Dirty Water

If you find that water from your tank has a dirty, dark color, there is a chance that your water tank has some corrosion inside. You can simply replace the tank to get rid of this problem.

Also, a failing anode rod can also be the reason for this issue.

So, you need to flush the water tank to replace the anode rod to check if the problem will get solved, before heading to buy another tank. If the problem still occurs, then again contact your water heater repair professional.


5.    Water Taking Too Long to Reheat

There is a high chance that the heating element is faulty, and the thermostat, or other elements is defective, if your water tank takes too much time to reheat. You need to regularly check these elements to see if there is any issue. If so, contact your water heater repair professional, and do the needful.

So, as you can see whatever your water heater issue is, it’s vital to identify and fix the error as soon as possible. But most of these issues should be handled by a professional, whether it is a leakage, or a heat issue. You are always free to contact us for the Best Water Heater Repair in San Diego.


Author Bio :- Angela Louise

Angela is a marketing manager at EZ Plumbing USA. She has a great interest in educating readers about various leakages that can happen in their home or offices through her articles. With extensive knowledge of water leak and slab leak detection techniques as well as HVAC systems, Angela wants to make readers aware about the warning signs indicating leakage and predictive AC and Heater maintenance and also how to fix them to refrain from dangerous and costly consequences. 

Read articles to get more valuable information about detection and damages of water and slab leak repair, techniques to fix clogging, and installation and maintenance of AC & Appliance in San Diego.

Facebook: https://www.facebook.com/EZPlumbingUSA/

Twitter: https://twitter.com/EZPlumbingUSA1

The 4 Most Common Tankless Water Heater Issues and How To Repair Them?

RH Business Marketing Solutions

An increasing number of homeowners are beginning to replace their old water heaters with water-free water heaters to avoid further disruption to repairing water tanks. Common problems with traditional tank water heaters include leaky temperatures and pressure relief valves and soil structure. Although a water-heater without a tank requires minor repairs, this type of heater may be easy on a variety of problems. The best tankless water heater repair Los Angeles services are available to repair your broken water heater. Here we have discussed 4 common tankless water heater issues and how to fix them. 

Blocked Exhaust

Depending on the type of water heater you have, you can use electricity, propane, or natural gas to create warm water. Natural gas or propane water heaters are connected to the drainage pipes leading out of your home. Pipes are designed to release toxic gases used during combustion.

 To prevent harmful gas leaks, a waterless water heater is designed to deliver the error code when the exhaust pipe closes. Since gas pipelines are connected outside your home, items such as a bird's nest, rodents, chopsticks, or litter can form blockages that interfere with the flow of natural gas.

Do a plumbing test outside your home to make sure you see a nest or mice in the exhaust system. If your water heater without a tank shows an error code, the source of the problem may be a crack or a hole in the gas pipeline. In addition, do a check to make sure the pipe connection is secure. A loose exhaust pipe can cause gas leaks in your home. 

Accumulation of Minerals

Whether you use a regular or non-tank water heater, you need to keep an eye out for the accumulation of minerals inside your water heater. Solid water is high in mineral water, and the harder your water becomes, the more likely it is to damage minerals. Calcium and Magnesium are two minerals that often cause scaly buildup, and this can damage the function of your water heater if you do not understand it. 

If you own a water-free water heater or are moving from a conventional to a water-free tank heater, it is also important to check the water filter on your water heater, especially if you have a water source. Tank water heaters do not need to be cleaned often, if feasible, but non-tank water warmers require more care so one can have a protracted lifestyle.

 Fountain water can cause rapid accumulation of debris in your tankless water heater making it difficult for water to travel in a long, narrow way to the heat exchanger. If you do not regularly inspect your water filter, waste can get stuck in this long path if your water filter is stopped. 

To avoid damage, operate your water heater every six months with the Eccotemp EZ-Flush system Descaler cleansing kit. You may also use a water softener to gradual the accumulation. If you do not have a hook up to smooth your water heater you want a valve bypass package to help with the cleaning method.

Failure Of Ignition

Non-tank water heaters are fitted with a heating system in a hot spot designed to ignite propane or natural gas. The benefits of buying a water heater with a water heater include fewer emissions and better fuel efficiency. This type of sewing system is composed of small electrical components made of silicon. If your tankless water heater does not heat water in your home, this is a sign of electrical damage to the ignition system.

When a non-tank water heater is activated, parts of the heating system in the tropical area are heated. Next, the incoming natural gas will be ignited by a hot spot lamp before we reach the gas burners. If you do not find hot water in your area or shower, this is a sign of a broken part in the ignition system. On the other hand, the low availability of hot water can be caused by a water valve or a gas leak. Professional services for tankless water heater repair orange county will give you complete services to repair your water heater. 

 If your gas valve closes slightly, the hot fuel will not get enough natural gas to produce warm water. The quickest way to fix this problem is to turn on the gas and water valves to ensure that the water-free water heater gets the right amount of water and natural gas. 

 Cold Water Gap

A common problem with temporary water heaters is that they do not have temporary cold water heaters. If you come across cold water a few seconds after taking a warm shower, you may be curious as to why your water heater is not producing hot water. This trouble is resulting from the area of your tankless water heater. If your water heater is installed in a place away from the bathroom, it will take a few seconds or minutes for the warm water to reach your shower.

If you take a shower directly after a family member, you will get warm water first. However, you will encounter cold water for a few seconds before the water returns to a warmer temperature. When a family member leaves the shower prematurely, a little warm water is trapped in the pipes behind your walls. Once you start bathing, get warm water left in the pipes.

On the other hand, it takes a few seconds for fresh hot water to be produced by a water-free water heater. That’s why you experienced a short period of cold water at the beginning of your shower. Unfortunately, there is no easy way to fix this problem with your water-free water heater. The easiest way to prevent a cold shower is to wait one minute after turning on the water tap to start your bath. This will allow cold water to drain from the water pipes before you take a shower.

Conclusion

Tankless water heaters are efficient and easy to maintain but still can have issues that you need to take care of. You can always call a tankless water heater technician who will help you to fix or repair your water heater. Professional water heater companies provide various services for your water heater. 

Author Bio:- Jacqueline Lewis

Jacqueline is a content marketing manager who formerly worked at Cali's Choice Plumbing & Restoration. She is a writer, editor, and content strategist for plumbing services. Making her knowledge and skills a power, she amplifies the readers’ knowledge about the ways of water leak and slab leak detection and their reciprocation. 

Through her articles, she shares the most successful tactics and strategies of slab leak repair, mitigating blockages through Hydro Jetting, and AC & heater installation tips to the audience.

FaceBook: https://www.facebook.com/CalisChoicePlumbingRestoration

Twitter: https://twitter.com/CalisChoice

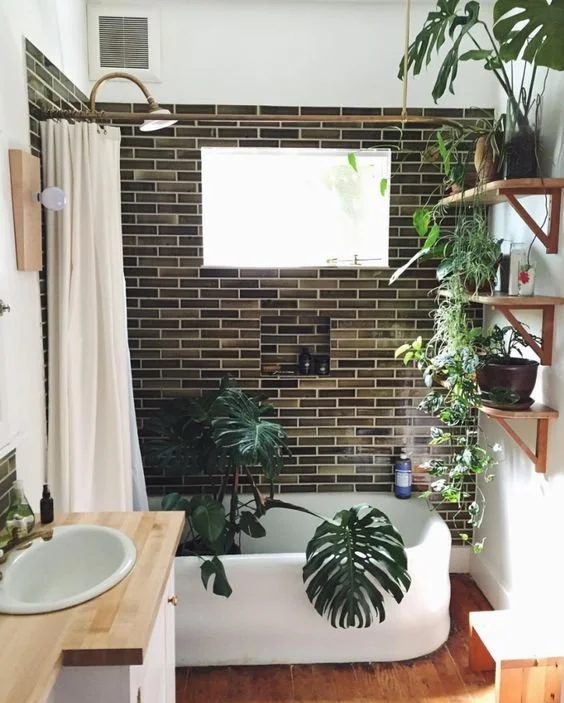
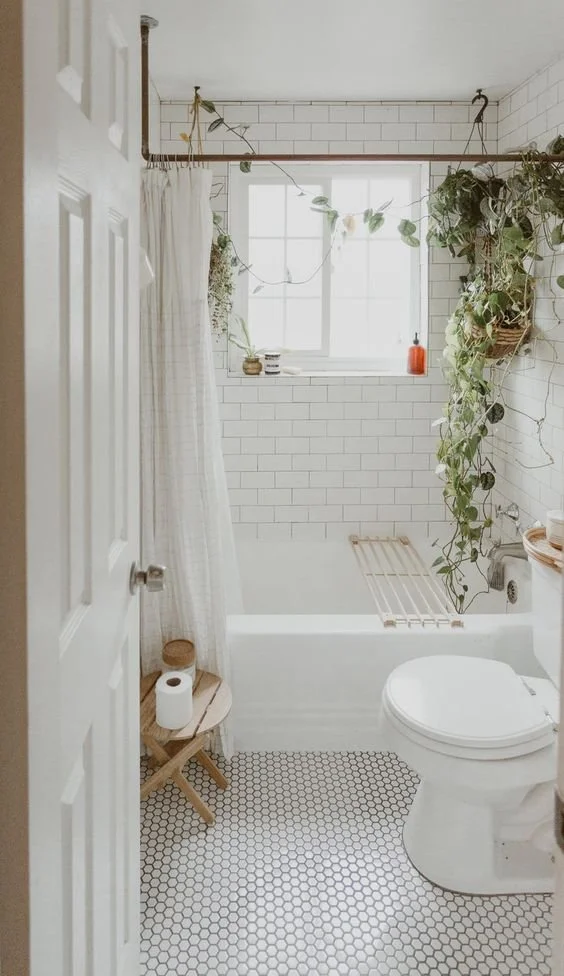
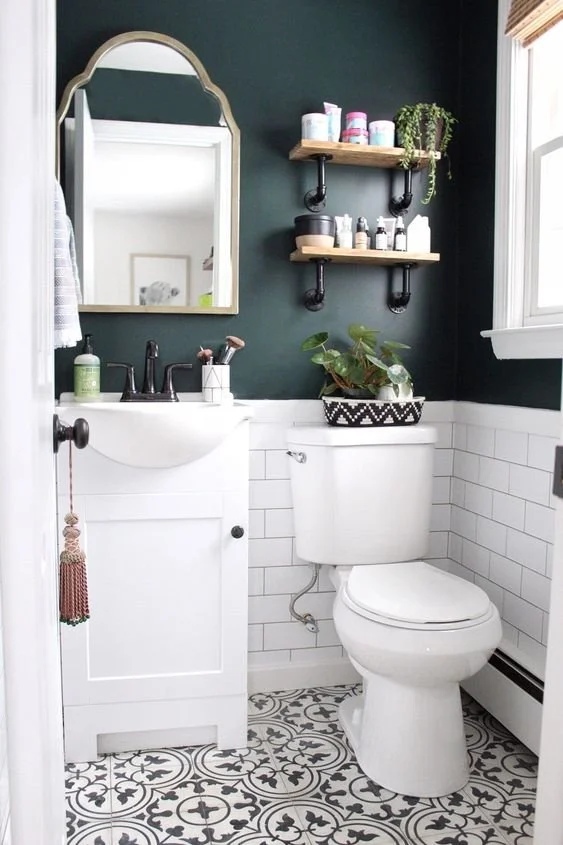
Small Bathroom Interiors We Love

RH Business Marketing Solutions

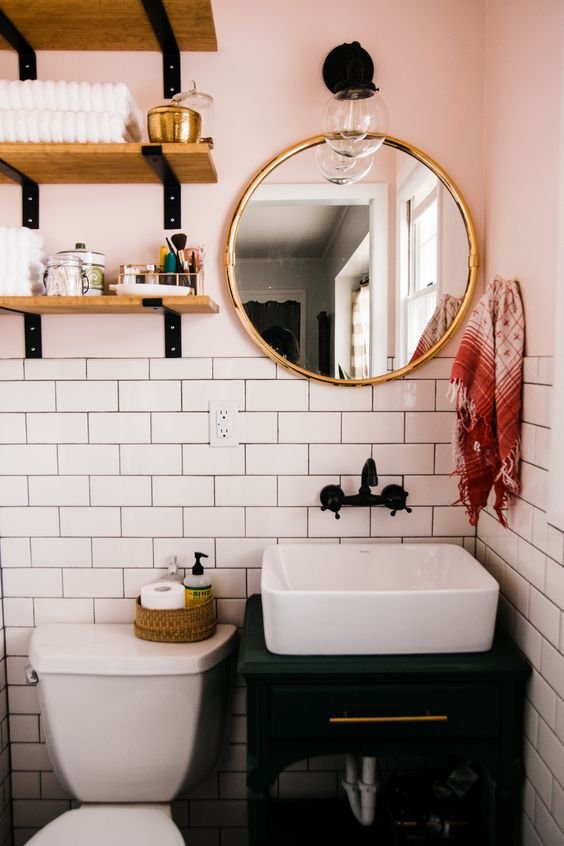
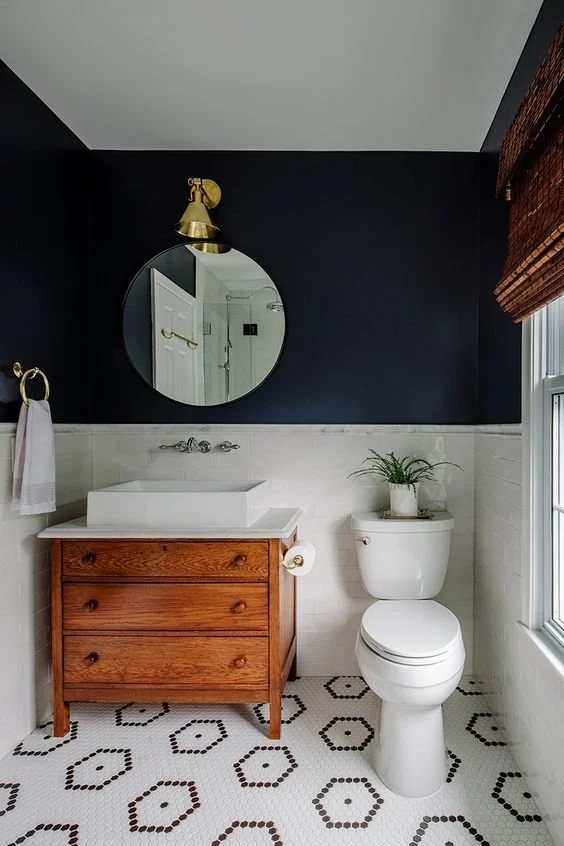
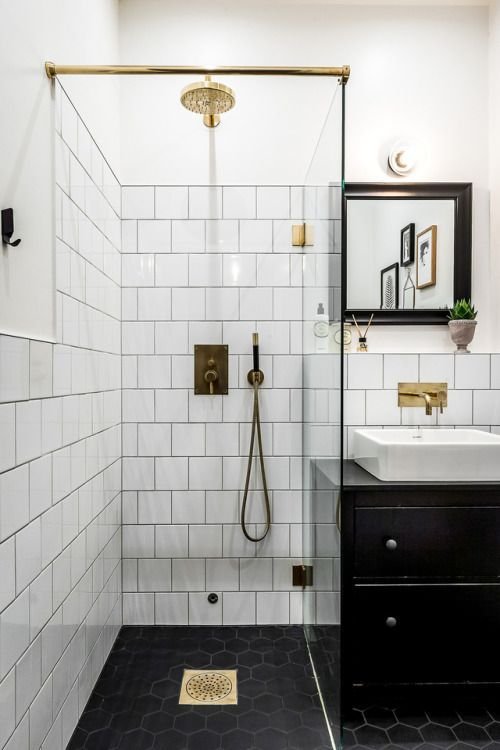
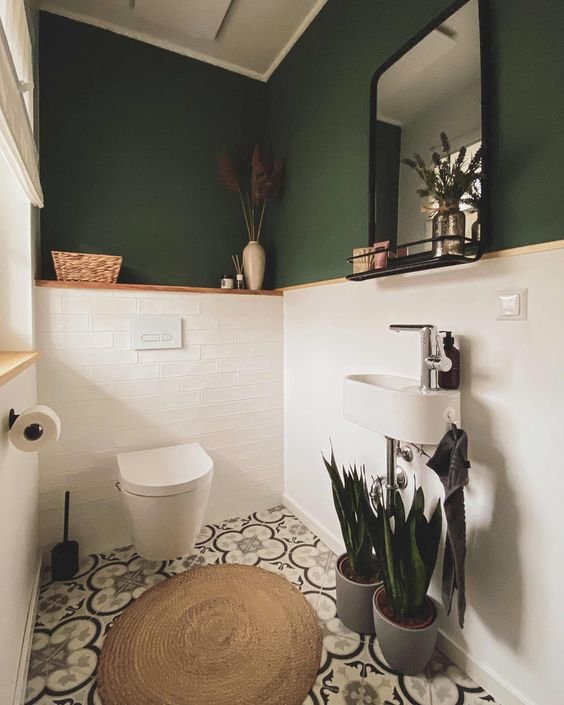
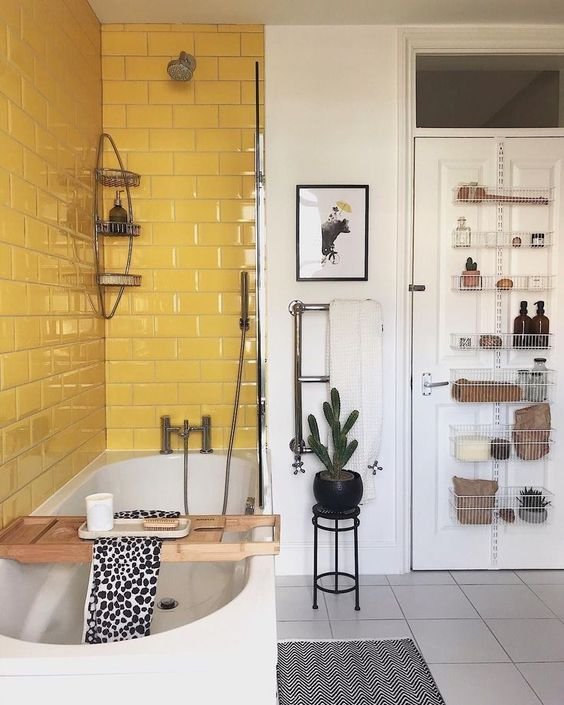
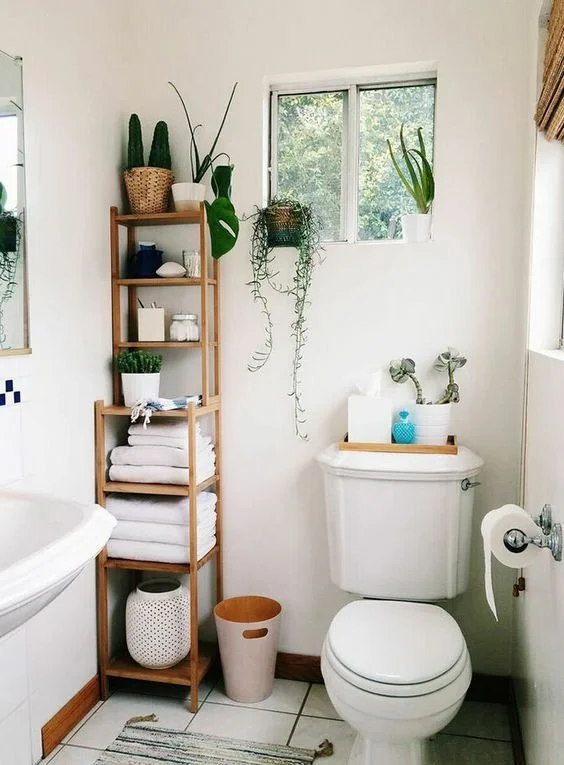
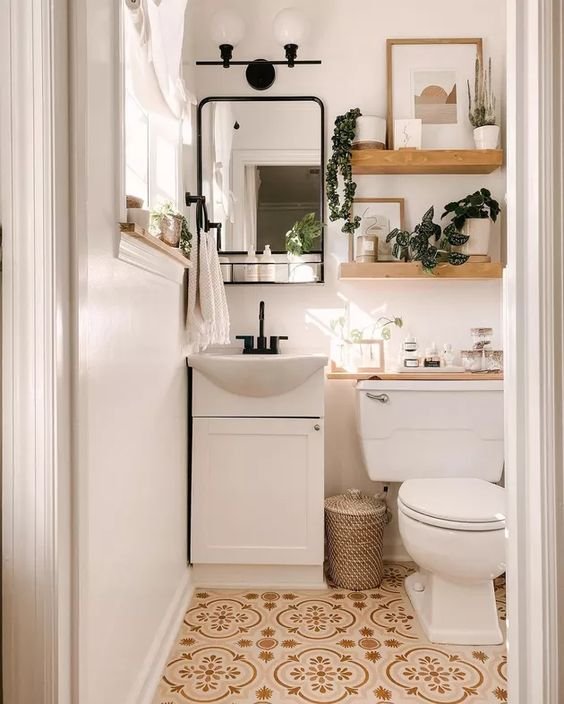
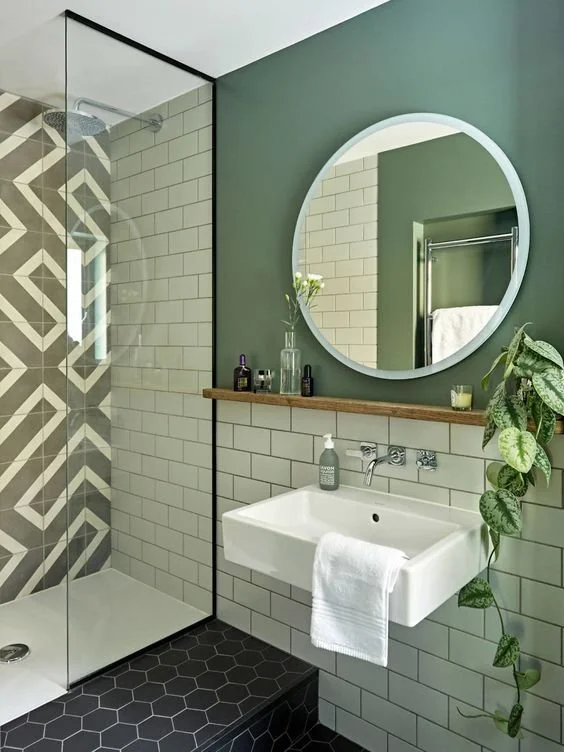
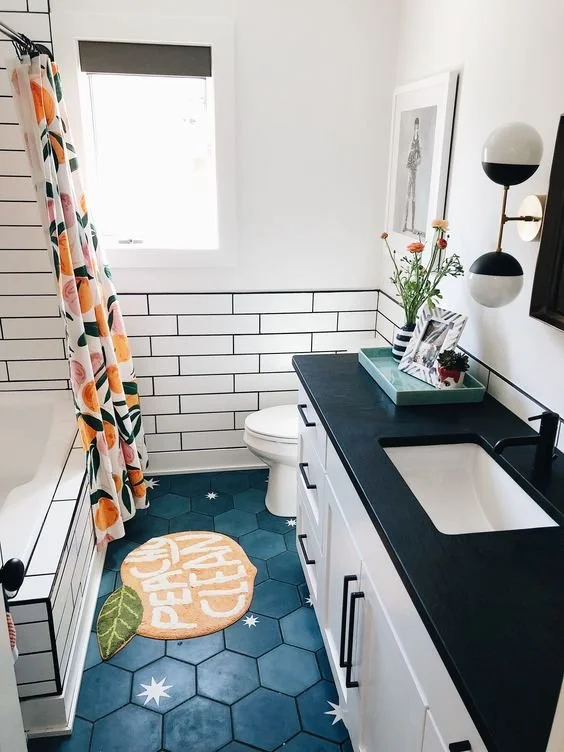
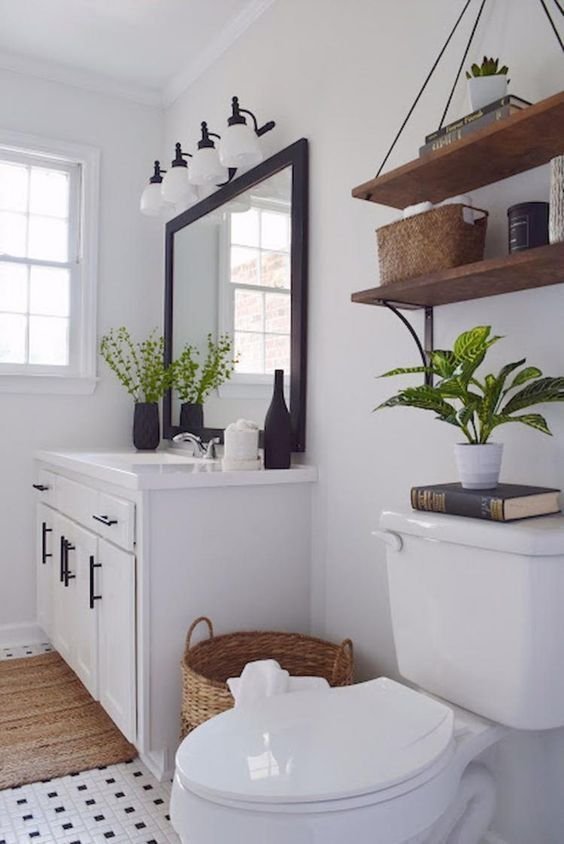
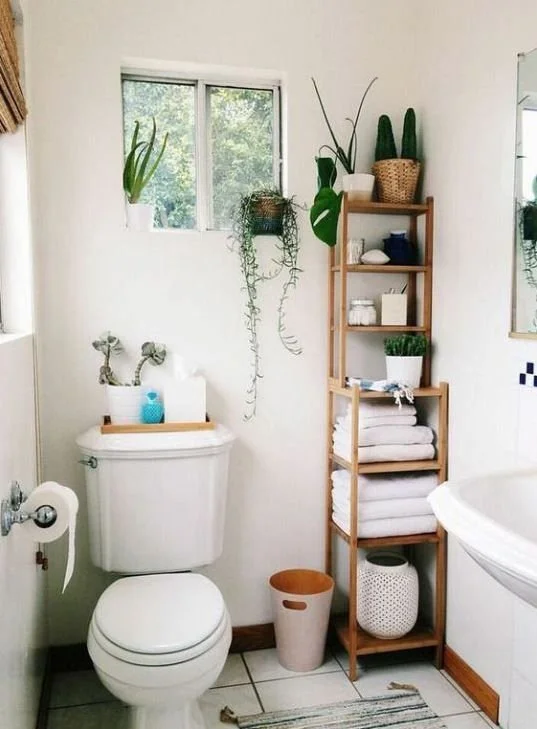
Have a small space to work with in your bathroom but still want to decorate? We rounded up the best interior designs for small bathrooms that are easily achievable! We know how hard it is to create a warm and inviting place with small places, but we have all the ideas on how to make the most out of your bathrooms!

Plumbing fixes to have done before selling your house

RH Business Marketing Solutions

Home selling is a big project, even if you keep your home in good shape. Not only do you have to find an agent to help you stage and list your home, but you also have to renovate it so that it is as profitable as possible. Among many renovations, plumbing fixes tend to be those people dread the most and sometimes avoid altogether. To help you tackle your home selling with due care, we'll list all the plumbing fixes to have done before selling your house.

Why is it important to repair your plumbing before selling your home?

When you see how complex and costly plumbing repairs can be, you might consider avoiding them altogether. After all, if you plan to move to another city, why should you go through the trouble of repairing your plumbing? Among hiring movers for your long-distance relocation in Illinois and preparing your items, you probably have enough on your plate. Well, as it turns out, top-notch plumbing is a necessity for a successful home sale.

No matter how beautiful it looks, there are likely some plumbing fixes to have done before selling your house.

Most home buyers will hire a professional to perform a thorough home inspection before even considering a purchase. During that inspection, your plumbing issues will pop up. And the buyer will either forgo the purchase or expect you to cover the cost of fixing the plumbing. Now, there is a minority of buyers that won't perform a home inspection. But keep in mind that they expect you to lower the price because they aren't requesting one. To make your deal satisfactory for the buyer, you will likely have to reduce the cost more than it would cost you to repair your plumbing. So, all things considered, fixing your plumbing issues is a must for a decent home sale.

List of plumbing fixes to have done before selling your house

In the following paragraphs, we will list the most common plumbing fixes to have done before selling your house. Keep in mind that your home may require different, less common repairs. So, do the smart thing and have a professional check out your home, even if you think you know the potential issues.

Pipe leaks

Leaky pipes are arguably one of the most dangerous issues you can have with your plumbing. The reason for this is that they can easily go undetected for a long period of time. You may not even hear any dripping or see any visible issues for months while your pipe keeps leaking water. The water that leaks out can cause considerable damage over time, especially if it is near a wooden surface. Even if it isn't, the increased moisture can easily attract pests. So, do the smart thing and carefully check your piping for leaks.

Dripping faucets

At first glance, a dripping faucet might not seem like a big deal. You lose a bit of water every now and again. And if you can suffer the noise it makes, there isn't much reason to fix it, right? Well, if you take the time to measure just how much water a dripping faucet wastes, you will soon see that repairing it is well worth your money. Furthermore, a dripping faucet can be a symptom of a more severe issue with your faucet cartridge or the washer. Luckily, fixing these issues is relatively straightforward. So, you might not even have to hire a plumber.

You should always address a dripping faucet.

Clogged or slow drains

Keeping drains functioning properly is easier said than done. Both shower drains, kitchen sinks, and toilets get clogged or have reduced flow simply due to their use. Hair, oily products, soap particles, etc. - these can easily clog up your shower drain and prevent water from running freely. The best prevention is to put a drain guard or a drain trap. But, even those cannot save you from occasional clogs.


By a similar token, kitchens sinks are pretty prone to get clogged. Food remnants can easily clog up a well functioning sick and prevent water from running. Again, drain guards and traps do help, especially if they are of better quality. But, no guard or trap is 100% efficient. Fatty, grainy food remnants will easily go through and contribute to your drains getting stuck. So, what can you do?


The easiest solution is to have a plunger, vinegar, and baking soda at hand. A plunger will mechanically help your drain breathe and help push the issue through. Meanwhile, vinegar and baking soda will dissolve the problematic particles and help loosen up the tricky part. You can also use chemicals tailor-made for unclogging drains and pipes. Just make sure to carefully follow their instructions.

You can likely fix a clogged drain on your own. If not, call a professional.

Low water pressure

Low water pressure is often a symptom of a more serious issue. It can be a symptom of leaking pipes or corroded installments. Or it can be due to a buildup of sediment on aerators. If there is an issue, aerator, there is a relatively straightforward fix. Simply soak the aerator in a vinegar solution. Also, soak the showerhead. If that doesn't fix the problem, you might have to replace the parts.

Final thoughts

When it comes to plumbing fixes to have done before selling your house, it is vital to understand their importance. We suggest that you start tackling plumbing issues as soon as possible, as finding reliable plumbers might not be easy. While moving companies have websites like Verified Movers, plumbers tend to have a smaller online presence. So, don't put yourself in the difficult spot of having to look for a plumber on short notice. Instead, study your plumbing carefully and see what issues you can fix. For all the rest, hire a professional.

Guest Contributor: Sophia Perry

5 Types of Winter Damage and How You Can Prevent It

RH Business Marketing Solutions

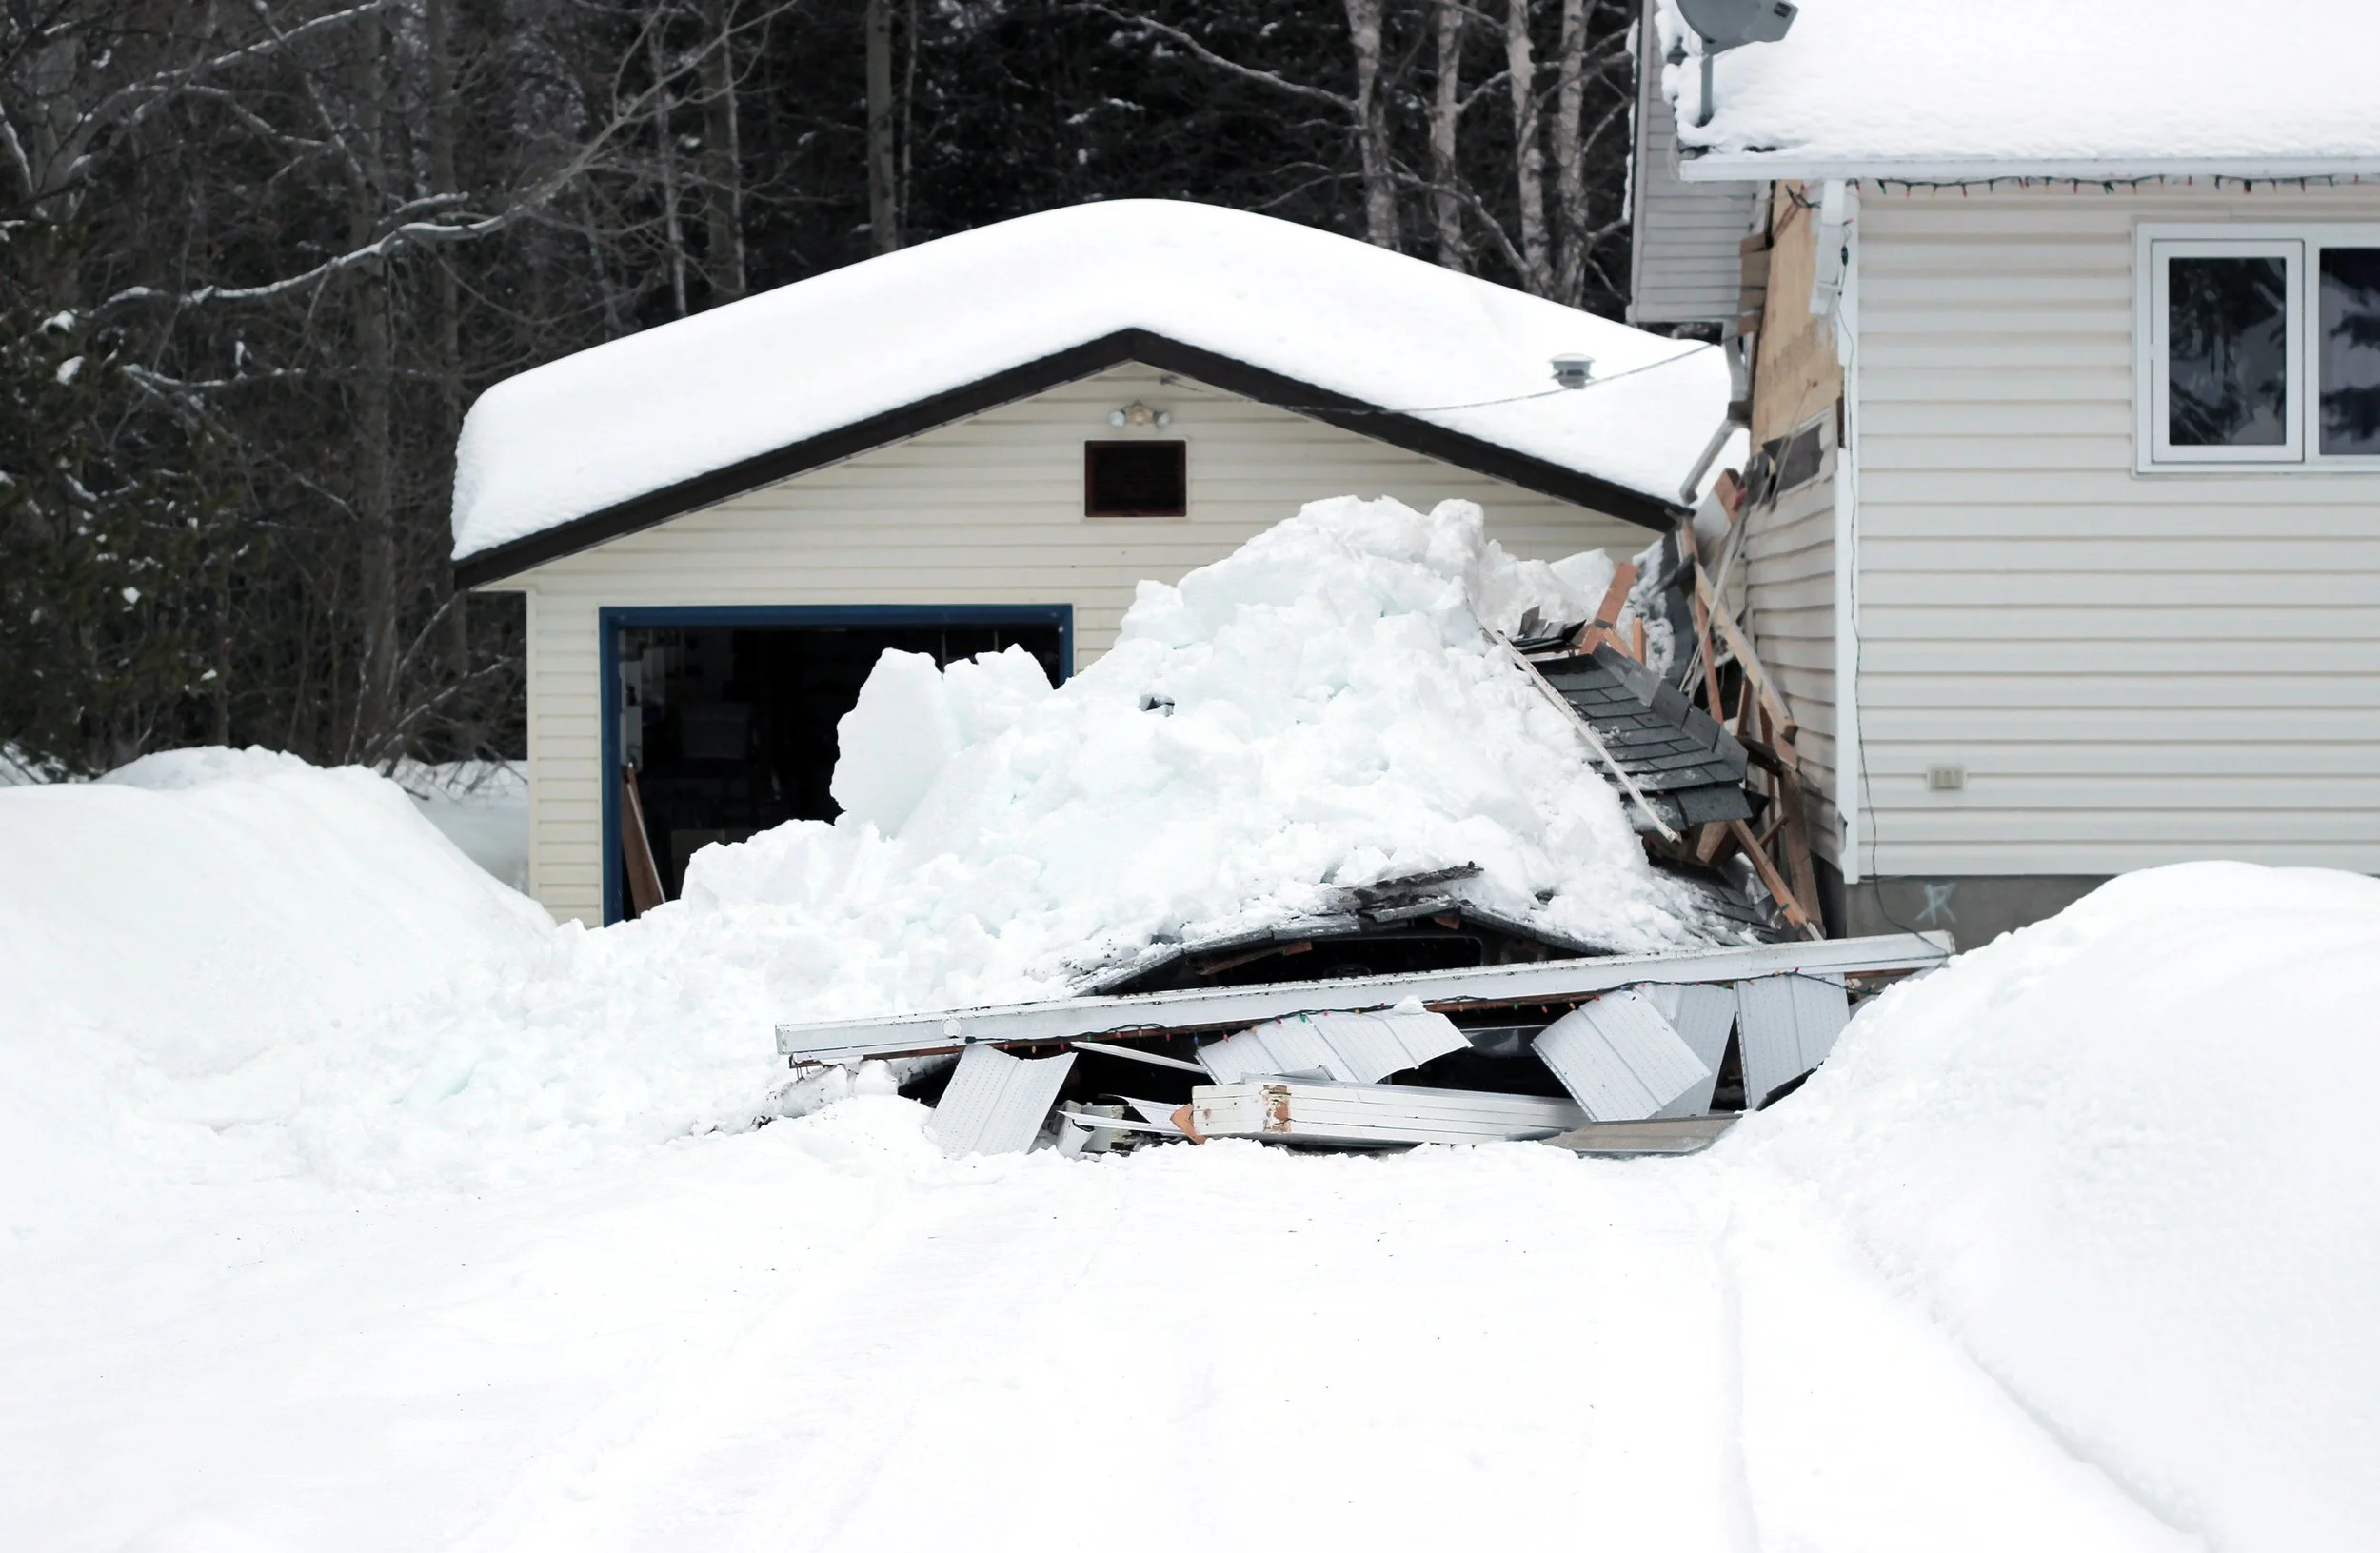
If you own a home in a seasonal area — whether it’s new or just new-to-you — you might be getting ready for the colder weather sometime soon. You love your home, and it’s important to prepare and protect it as best you can from damage of all kinds. The winter season can be beautiful and cozy, but it also has the potential to bring some damage to your home.

If you want to keep on the lookout and stay prepared for whatever’s to come, here are some of the things you can look out for when the weather starts to turn.

1.   Structural Damage

One of the primary concerns with any kind of damage to your home is that it can impact the foundation or the structure of your home. Things like water damage, ice, and unforeseen weather circumstances can cause structural ruptures and damage to the foundation.

 Some of the best ways to prevent this are keeping on top of your landscaping, extending downspouts away from your house, and grading your yard so that the soil slopes away from your home.

2.   Ice Strain on the Roof

If you live in an area that routinely experiences snow and ice, one of the primary issues you may have to worry about in the wintertime is the strain of ice and snow on the roof. Between condensation and freezing temperatures, ice dams can lead to roof leaks and strong winds can loosen shingles.

In order to prevent this, it’s important to have your roof checked regularly to make sure it’s waterproof. If you notice a problem at any point, try to take care of it as soon as possible so that it doesn’t develop any further.

3.   Leaks

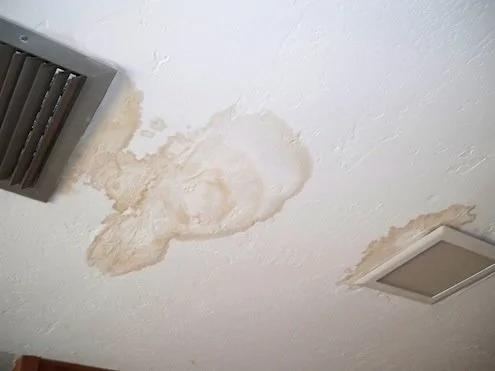
Your roof is not the only thing that can lead to leaking in your home throughout the wintertime. Yes, leaks in the roof are an issue, but it’s also important to remember that cold can crack the caulk used around windows, melting snow can leak into the basement, and other kinds of damage can ensue as a result of cold weather. Make sure, before winter starts, that you address any gaps in insulation before they become a problem.

4.   Broken Pipes

Another common issue that the winter can bring is damage to the pipes and water systems in your house. Especially if the temperatures get below freezing, pipes can burst and cause all kinds of plumbing problems.

One of the best fixes for this is insulating exposed pipes using heat tape or foam pipe insulation. Also, make sure you keep the heat circulating and put your faucet on a slow drip in order to keep water flowing so that the pipes don’t stagnate.

5.   Condensation and Water Damage

Since there are so many water-related issues that can ensue from winter, this one might not come as a surprise to you. One of the most common forms of water damage in homes is condensation throughout the walls. This can come as a result of moisture spreading where it doesn’t belong.

Make sure that if this does become an issue, you isolate the source of the moisture to avoid mold and other forms of damage.

Winter Damage and Avoiding It

Winter damage can be a difficult thing to deal with, but you can stay prepared for all of the forms it comes in so you can take care of your home to the best of your ability. Is your home winter-ready this year?

Guest Contributor: Rose Morrison

What Upgrades Increase Home Values Most in Tinley Park?

RH Business Marketing Solutions

Across Tinley Park’s 14 neighborhoods, there are currently approximately 226 homes for sale, with prices ranging from $60,000 to just under $1 million.

According to recent figures, the current median list price of a residential property in Tinley Park is $250,000, up 6.4% from the same time last year.

Tinley Park is currently a strong sellers’ market, with the average properties receiving multiple offers and selling for around 1% over the list price and going pending in approximately one week. Some homes in high demand are even achieving 5% above the asking price.

These market conditions are fairly typical across the country at the moment, as the supply of new property listings is keeping demand higher than the inventory available to meet it. As we exit the severity of the pandemic, however, markets are predicted to gradually regain balance as more properties are listed. 

Even though the sellers’ market conditions are persisting for now, it still makes economic sense to consider whether there are any improvements that you can make that will increase the value of your home prior to selling.

Here are some of the most popular upgrade ideas that could increase the value of your Tinley Park property.

1. Finish your basement

Nothing adds to the value of a home like additional liveable, heated square footage. If you have a basement that isn’t finished, you should seriously consider getting it done prior to selling. Adding a functional room to your home can catapult it into an entirely new price bracket. So long as you stick to a sensible renovation budget, finishing your basement is one of the surest ways to ensure a healthy return on your investment.

Finishing off a basement can be costly, especially if you plan to include additional electrical and plumbing requirements. However, if you effectively gain an additional room and potentially a bathroom, too, this will further bolster the potential for returns.

You can easily research online what houses your current size are selling for and then compare it with what an additional room etc. could achieve. Alternatively, consult with your real estate professional regarding what additional value your proposed renovation could add.

2. Renovating your kitchen or bathroom

Kitchens and bathrooms are the most popular areas of a property that buyers focus on, and the primary question in their minds is whether they will need to renovate the space themselves or not.

If your kitchen and/or bathroom are generally sound in structure and functionality, you may only need to update them. This could involve replacing units, fixtures, countertops, flooring, or appliances, or simply refreshing tired paint, tiling, or hardware, such as handles and tapware, etc.

If a kitchen or bathroom is beyond repair and desperately needs a renovation, it’s likely that you will be able to recoup the costs and add value to your home by carrying out the work prior to selling. So long as you are sensible with your spending, and renovate to a level in keeping with the demographic of your prospective buyers, there is certainly room to add value to your home by fully renovating these spaces. It will also make your property more desirable to potential buyers if the hard work has already been done.

3. Improve your curb appeal

Make sure that your property forms a great first impression by improving the way it initially presents. This goes beyond aesthetic improvements, such as manicured lawns, flowers, and a neat and tidy pathway. 

Go outside and look at your property through the eyes of a potential buyer. What would you look for? Does your property appear to be well-cared for? Is there any exterior wall damage? Are the doors and windows in good condition? Does the garage door look presentable and reliable? All these questions and more can really give you an insight as to what to focus on when preparing your home for sale. Improving the outside of your home may not bring in the big bucks directly, but ensuring that it lives up to the rest and makes a great first impression still goes a long way towards securing multiple offers. Even a high-powered pressure wash of the exterior and driveway can take years off of an older home.

Final thoughts

There are many options for improving the value of your home, and it will largely depend upon the current condition of your property. Just make sure that whatever upgrades you consider, that you first assess what monetary gain you are likely to make, based on transformation, additional living space, selling desirability, and your location. Your real estate agent can advise you best as to what improvements you most need to focus on.

Guest Contributor: Jennifer Seene